Production problem
Why does embroidery pucker the fabric?
Embroidery puckers when the fabric is not supported well enough to resist what the stitching does to it. Thread pulls the fabric inwards as each stitch is formed, and unless the backing, the hooping and the stitch density are matched to the material, the fabric gathers around the design. On knitted garments this is the normal outcome unless a cut-away backing is used.
What you are seeing
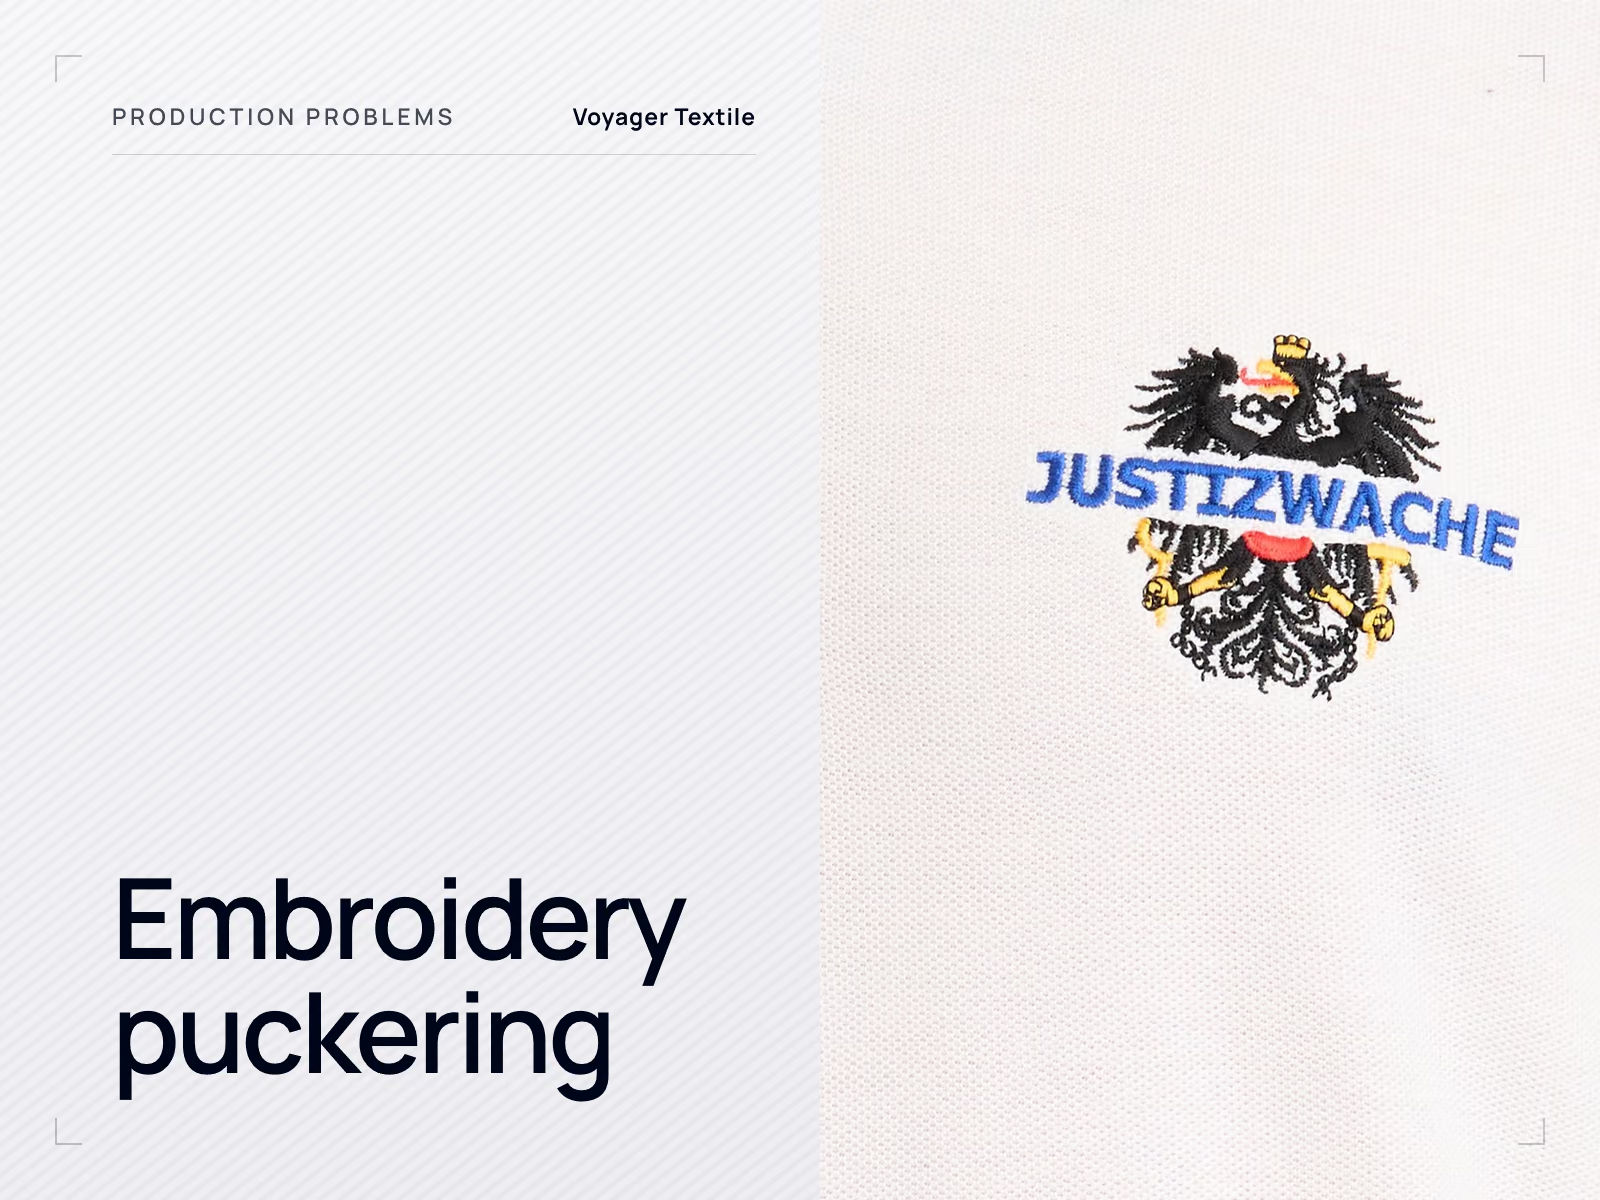
The fabric around an embroidered logo ripples or cups instead of lying flat, sometimes only visible when the garment is held up or worn, and often more pronounced after the first wash.
Contents
Embroidery does something to fabric that no other decoration method does: it puts thousands of individual tensioned stitches through it. Each one pulls slightly, and the accumulated pull distorts the fabric unless something resists it. That resistance is the backing, and many puckering problems are a backing decision made without reference to the material.
Why knitted garments are the hard case
A woven shirting resists distortion reasonably well on its own. A single jersey T-shirt, a piqué polo or a fleece sweatshirt does not: knitted fabric is designed to move, and it will move towards a dense block of stitching. Embroidery suppliers are explicit that stretchy knits need a cut-away backing, and that using a tear-away on them produces work that puckers, cups and warps out of shape.
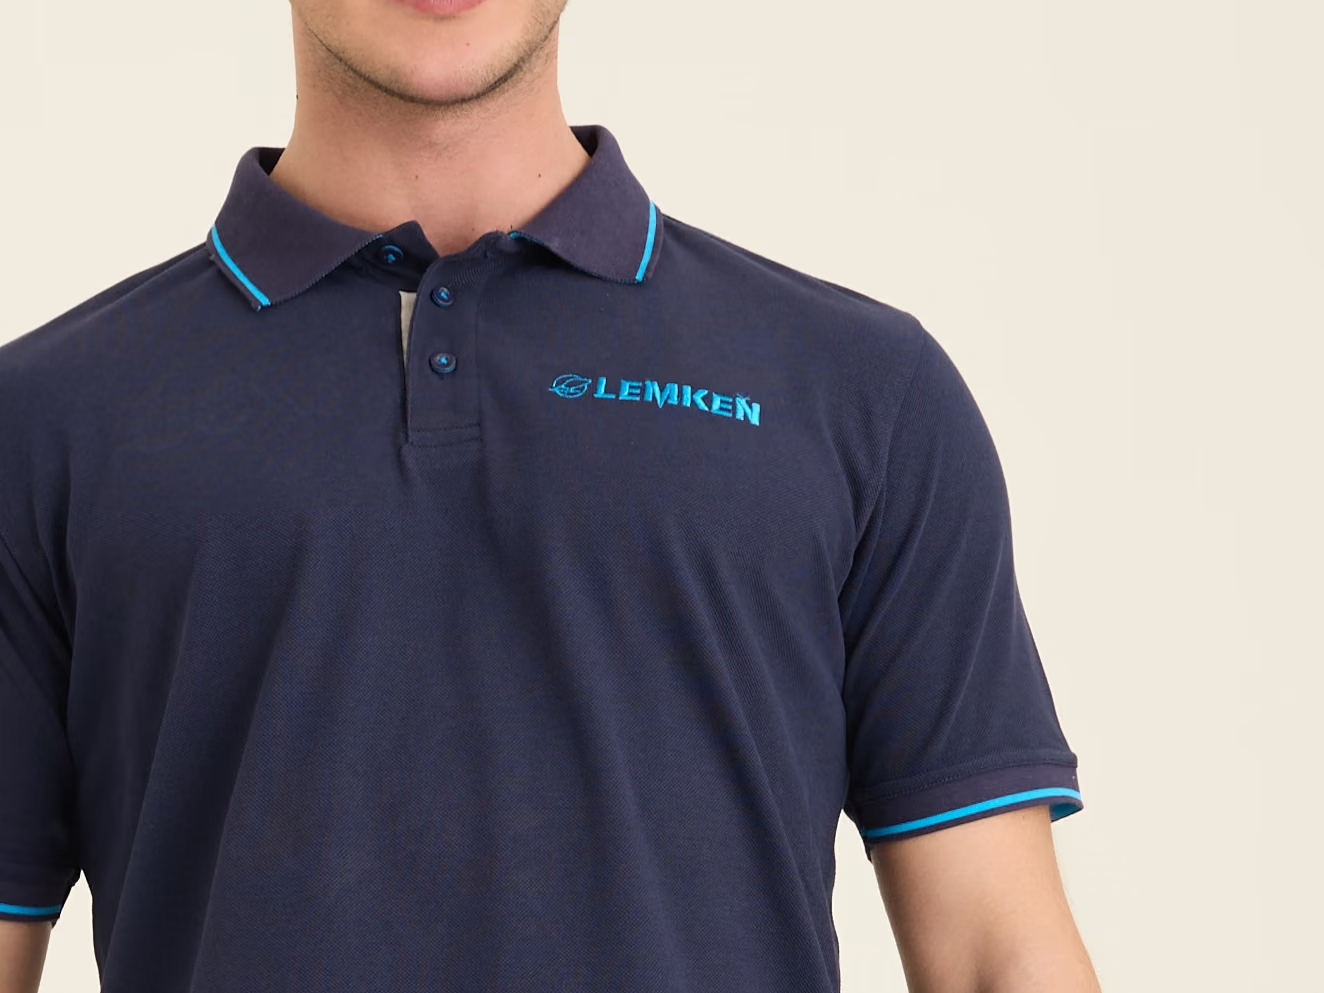
The distinction matters commercially because tear-away is cheaper and faster to finish. On a knit garment it is a false economy: the backing is removed, nothing holds the fabric, and the distortion appears in the first wash even if the garment looked acceptable when it left the machine.
The four variables that decide the result
| Variable | What goes wrong | The correction |
|---|---|---|
| Backing | Too light for the fabric, or a tear-away used on a knit | Match backing weight to fabric weight, and use cut-away on stretch materials |
| Hooping | Fabric hooped too tightly or stretched into the hoop, so it contracts when released | Hoop firmly without stretching; the fabric should be held, not tensioned |
| Stitch density and underlay | Too many stitches in the area, or insufficient underlay to stabilise before the top stitching | Reduce density, add appropriate underlay, and reconsider large solid fills |
| Thread tension | Top tension too tight, gathering the fabric as the stitch forms | Balance tension so the bobbin thread shows correctly on the reverse |
Embroidery suppliers list these in roughly this order for a reason: hooping and backing account for many cases, and adjusting the machine before checking them wastes time. Avoiding the problem at specification stage is a separate question, covered in embroidery placement and size.
Digitising is part of the fabric decision
A digitised file is not a picture; it is a stitch plan with directions, densities and compensation built in. Two aspects matter for puckering. Density decides how much thread is forced into the area, and dense solid fills on a soft knit are the highest-risk combination there is. Compensation accounts for the fact that stitching pulls fabric inwards, so shapes are digitised slightly larger than they should finish in order to land at the right size.
This is also why a logo cannot simply be resized. A file digitised for a 90 mm chest logo carries densities and compensation for that size, and running it at 40 mm produces a dense, distorted result. Small sizes need their own digitising, which is a real cost line rather than an administrative step. File requirements are covered in the artwork guide.
Where in production the embroidery happens
Embroidering a cut panel before the garment is assembled is easier and gives better results than embroidering a finished garment, because a flat panel can be hooped cleanly with the correct backing behind it and nothing else in the way. Once a garment is made, the hoop has to accommodate seams, linings, pockets or a hood, and all of those restrict how well the fabric can be supported.
That is why chest logos on polos and sweatshirts are normally worked at panel stage, and why embroidery across a finished hood or over a pocket edge is avoided. The sequencing is set out in the relevant manufacturing process pages, for example the polo shirt process.
Testing before bulk
- Ask for a stitch-out on the actual production fabric, not on a similar one. Backing behaviour changes with fabric weight and structure.
- Look at the reverse of the stitch-out as well as the front. Backing type, coverage and tension balance are all visible from behind.
- Wash the stitch-out under the conditions the product will face, then look again. Puckering frequently appears or worsens at this point.
- Check the finished logo dimensions against the specification, since pull compensation affects the final size.
- For dark garments with a light logo, check that no backing shows through the fabric at the edges of the design.
Specify and confirm
What to state in the specification
- The exact garment and fabric each logo will be applied to
- Finished logo dimensions and placement measured from a fixed point
- That a stitch-out on the actual fabric is required before bulk
- That the stitch-out will be assessed after washing
- Whether a soft backing is required for garments worn next to the skin
What to ask the factory
- Which backing will be used, and whether it is cut-away or tear-away
- Whether the design is digitised for the actual finished size
- Whether embroidery is applied at panel stage or on the finished garment
- Whether the same digitised file will be retained for reorders
- Whether the density has been reduced for a soft or brushed surface
Questions this raises
Can puckering be pressed out?
Temporarily at best. Pressing flattens the appearance without removing the tension the stitching created, and the pucker returns after washing. The correction has to happen at backing, hooping, density or tension.
Should we use cut-away or tear-away backing?
Cut-away for knitted and stretch fabrics, because it stays in the garment and continues to support the stitching for the life of the product. Tear-away is suitable for stable wovens. Using tear-away on a knit is a common cause of embroidery puckering.
Why did the logo come out smaller than specified?
Because stitching pulls fabric inwards, and the digitising has to compensate for it. If compensation was not applied for that fabric, the finished dimensions land short. It is corrected in the digitising rather than by re-running the same file.
Can the same embroidery file be used at a different size?
Not reliably. Density and compensation are specific to the size, so a file scaled up or down produces either a sparse or an over-dense result. A different finished size normally needs its own digitising.
Is embroidery a bad choice for lightweight jersey?
Not a bad choice, but a demanding one. It works with an appropriate cut-away backing, reduced density and a design that is not a large solid fill. For a very light jersey with a large detailed logo, a print is often the better technical answer.
Embroidering a logo across several garment types?
Send the logo and the garments it has to appear on. Each fabric needs its own backing decision, and we produce a stitch-out per fabric before bulk rather than assuming one setting works everywhere.
Ask about embroidery on your fabrics