

Embroidery placement and size: what the machine and the garment allow
Embroidery is thread built up on a surface, and that single fact sets every limit it has. Fine detail disappears below a certain size, the fabric has to be held flat while it is stitched, and the area being decorated has to be physically presentable to the machine.
Contents
- Artwork has to be simplified, not just supplied
- How small can lettering go?
- Size follows the artwork's shape
- Backing, and why it is a specification item
- Hooping: the constraint buyers do not see
- Polos, plackets and collars
- Stretch fabrics and rib
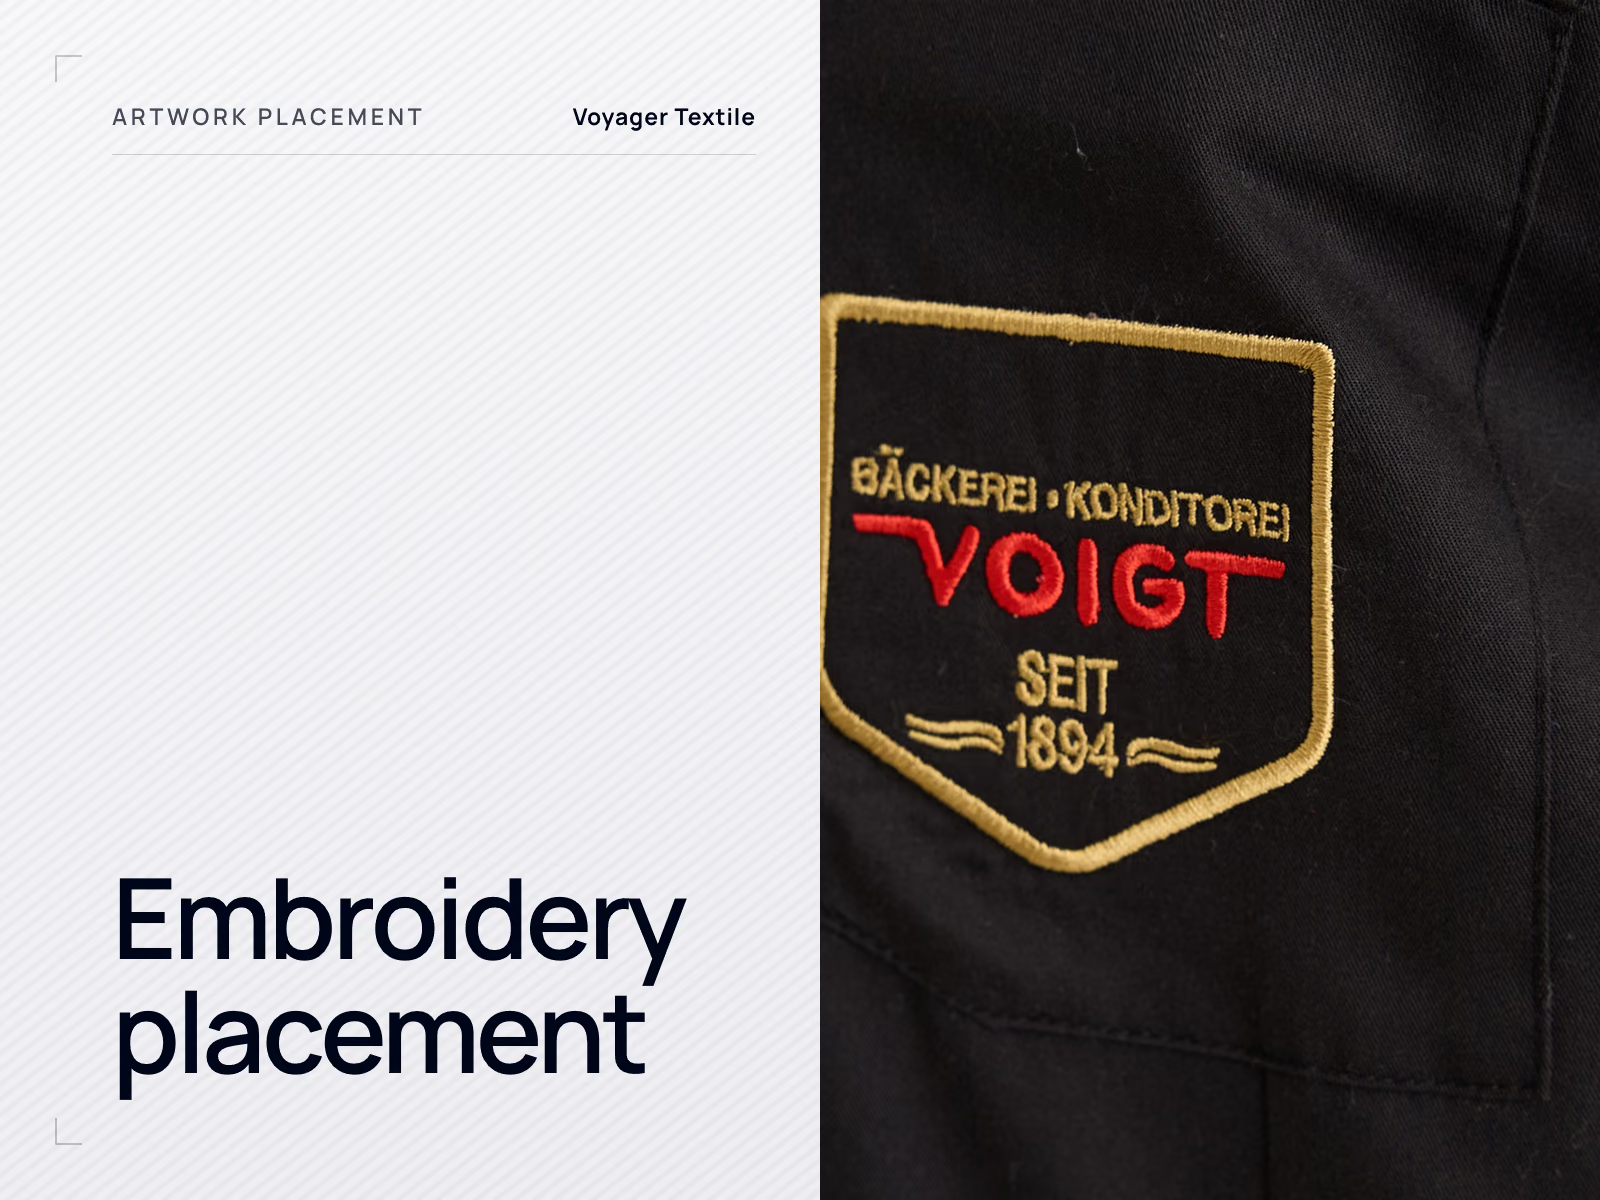
- Patches and applied badges: embroidered, woven, PVC and leather, and how they are attached
- Specifying it
- Questions this raises
Two questions decide much of an embroidery specification: how small can this artwork go before it stops working, and can the machine physically reach where you want it. Neither is answered by the artwork file.
This page is about the geometry and the physical constraints. Choosing embroidery over print in the first place is covered in the printing and embroidery comparison, and what to do once a finished garment has puckered is covered in embroidery puckering. The aim here is to specify in a way that does not create that problem.
Artwork has to be simplified, not just supplied
Embroidery does not reproduce artwork. It reinterprets it as stitches. That conversion is called digitising and it is a skilled judgement, not a file export: the same logo digitised by two people produces two different results, because decisions about stitch type, direction, underlay and sequence are being made along the way.
The practical consequence for a buyer is that the artwork usually has to lose something. Gradients, drop shadows, fine outlines, tightly nested shapes and very thin strokes either cannot be stitched at the intended size or will not survive washing. A good digitiser will propose the simplification. It is better to approve that consciously than to discover it on the sew-out.
The number of colours matters commercially as well as technically, because thread changes add machine time per piece rather than a one-off setup. A logo reduced from seven colours to four is a different price at volume.
How small can lettering go?
Small text is the usual failure point, and the limit is set by the thread as much as by the machine. Thread manufacturers publish guidance on this: Madeira's digitising guidance gives minimum lettering heights in the region of 6 to 7 mm for standard 40 weight embroidery thread, dropping to around 3 mm with a finer 60 weight thread at a correspondingly higher stitch density.
Treat those as the floor on a stable, smooth fabric rather than as a target. On a textured or stretchy surface the practical minimum is higher, because the stitches sink into the surface and the letterforms close up. A stacked lockup with a strapline set in small capitals is the classic case: the mark is legible at 80 mm wide and the strapline underneath it is not.
| Factor | Effect |
|---|---|
| Thread weight | A finer thread resolves smaller detail; Madeira pairs 60 weight with a higher density than 40 weight |
| Fabric texture | Textured structures such as piqué break up small letterforms |
| Pile or nap | Brushed and fleece surfaces let stitches sink, so lettering has to be larger or a topping used |
| Stretch | Stretch fabrics move under the needle, closing up counters in small letters |
| Letterform | A bold sans-serif survives smaller than a light serif with fine strokes |
Size follows the artwork's shape
A chest embroidery is normally specified by finished width, and that works for the wide wordmarks that many corporate logos are. It stops working when the artwork is tall or square.
- A wide wordmark is limited by the space between the placket or centre front and the armhole, so width is the governing number.
- A circular or shield crest is limited by height as much as width, and a crest specified only by width can end up dropping towards the underarm.
- A stacked lockup should be specified by height, because that is what runs out first.
- Where a mark contains small text, the height of that text is a third number worth stating, since it is what actually decides whether the embroidery works.
Stitch count follows from size and coverage, and it is what embroidery is priced on. The reason is mechanical rather than commercial: an embroidery head lays stitches at a broadly constant rate, so stitch count is machine time, and machine time is the cost. That is why a larger logo is not proportionally more expensive but more expensive by area of coverage, and why a bold solid mark and an open outlined mark of the same width can differ substantially.
Backing, and why it is a specification item
Embroidery needs the fabric held stable while it is stitched, and on knits the fabric alone cannot do that. A backing, or stabiliser, is placed behind the area being embroidered so the fabric does not distort as thousands of stitches pull on it.
Backing choice is a production decision, but it is one worth knowing exists, because it is where much of the difference between good and poor embroidery on knitwear lies. A backing that is too light lets the fabric pull in; one that is too heavy leaves a stiff patch the wearer can feel. On lightweight or pale garments the backing can also show through, which is why it is sometimes trimmed or a different type used.
On pile and brushed surfaces a topping is used as well, laid on top of the fabric so the stitches sit above the nap rather than sinking into it. That is the standard answer to lettering disappearing into fleece.
Hooping: the constraint buyers do not see
Embroidery is worked with the fabric held flat in a frame. That is a major limit on where embroidery can go, and it is invisible in a drawing of a garment.
The area to be embroidered has to be presentable to the machine as a flat, isolated piece of fabric with nothing else caught in the frame. On a flat chest panel that is straightforward. It becomes progressively harder as the position moves towards a seam, a pocket, a placket, a cuff or a zip, and on some garments a position that is perfectly reasonable on paper cannot be reached at all once the garment is assembled.
| Position | The constraint |
|---|---|
| Left or right chest on a tee or sweatshirt | Straightforward: the panel is flat and open |
| Left chest on a polo | Has to clear the placket, which is stiffer and often interlined |
| Chest on a zip jacket | The zip runs down the centre front, so the working area is narrower and the zip has to sit outside the frame |
| Sleeve | The sleeve has to be worked as a tube or reached before assembly; position and orientation both need stating |
| Cuff and collar | Small, doubled and often interlined; usually embroidered before assembly if at all |
| Near a hem or a rib | The trim cannot be held flat with the panel, so the mark has to sit clear of it |
| Across a seam | The seam allowance sits under the needle and the two sides can behave differently |
Hoop sizes and machine capability vary between machines and factories, so any specific limit has to be confirmed against the equipment that will run the order rather than assumed from a general figure.
Polos, plackets and collars
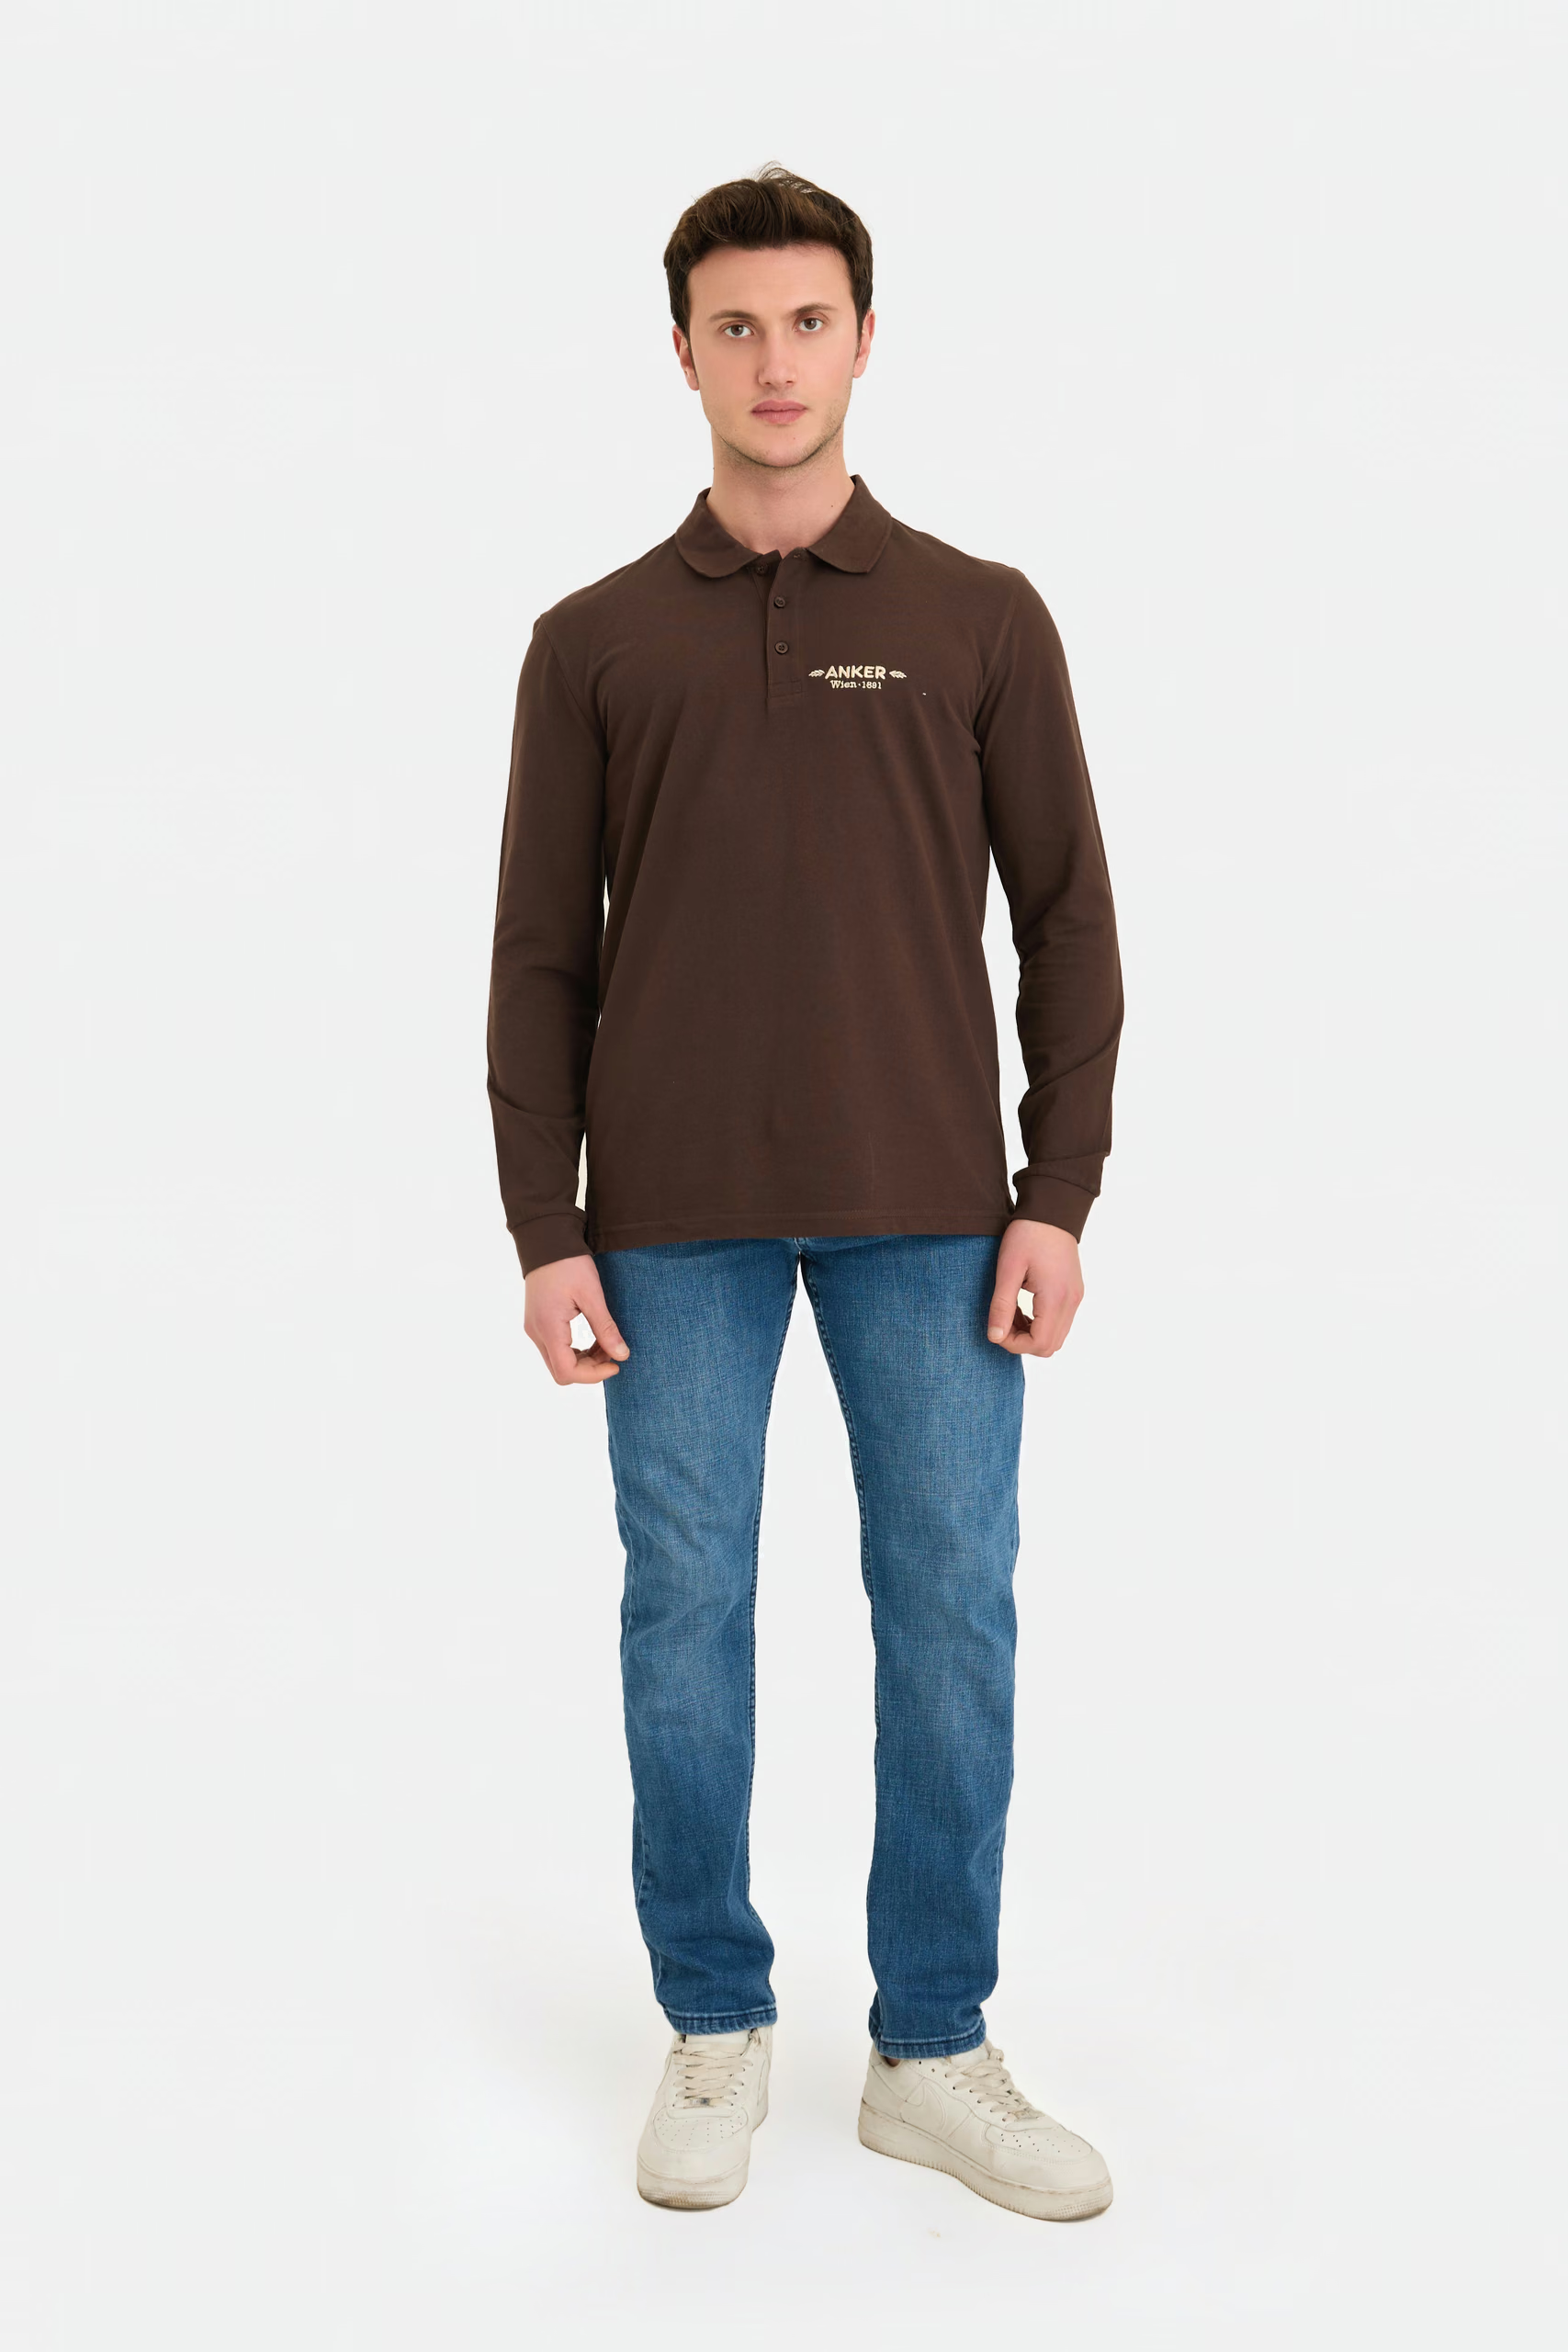
The polo deserves its own paragraph because it is a staple of embroidered corporate apparel and it has a constraint no plain tee has. The placket sits at the centre front and it is stiffer than the panel beside it, so the chest position is bounded on one side by the placket and on the other by the armhole.
For that reason the horizontal measurement on a polo is normally taken from the placket edge rather than from centre front. It is also the measurement a viewer's eye actually reads, because the placket is the visual centre line of the garment. A logo measured from centre front on a polo can end up looking off-centre even when the number is correct.
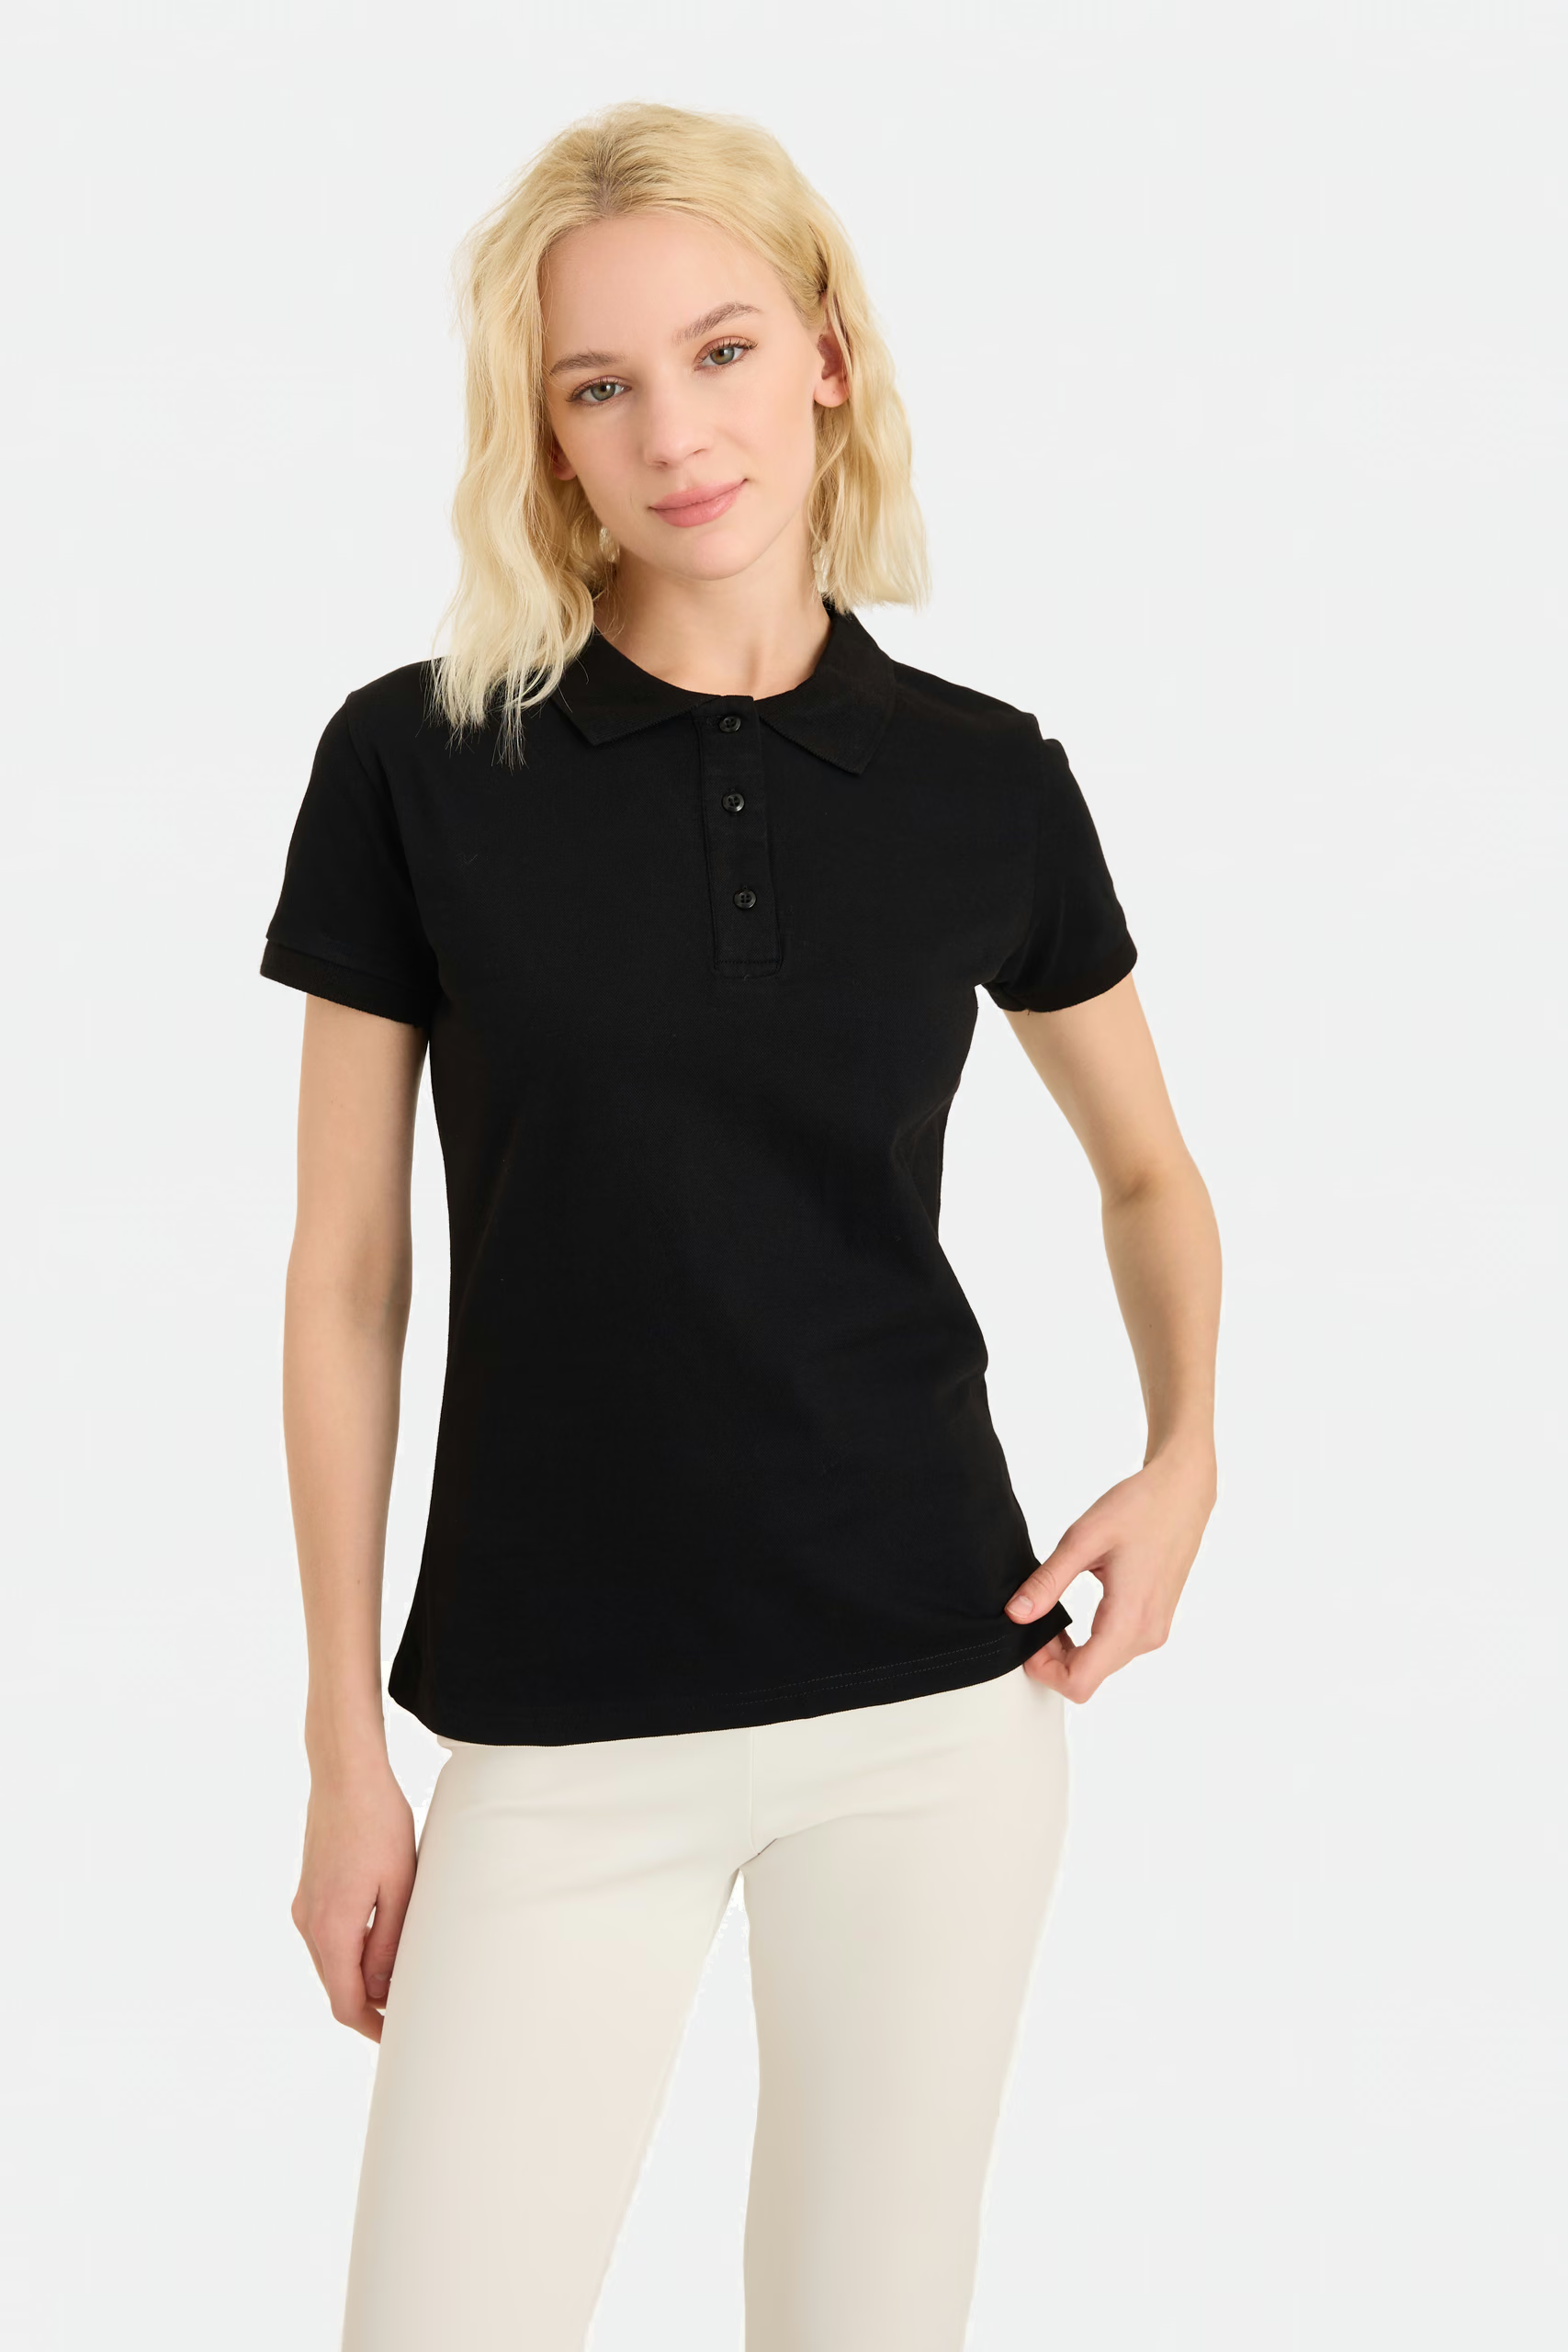
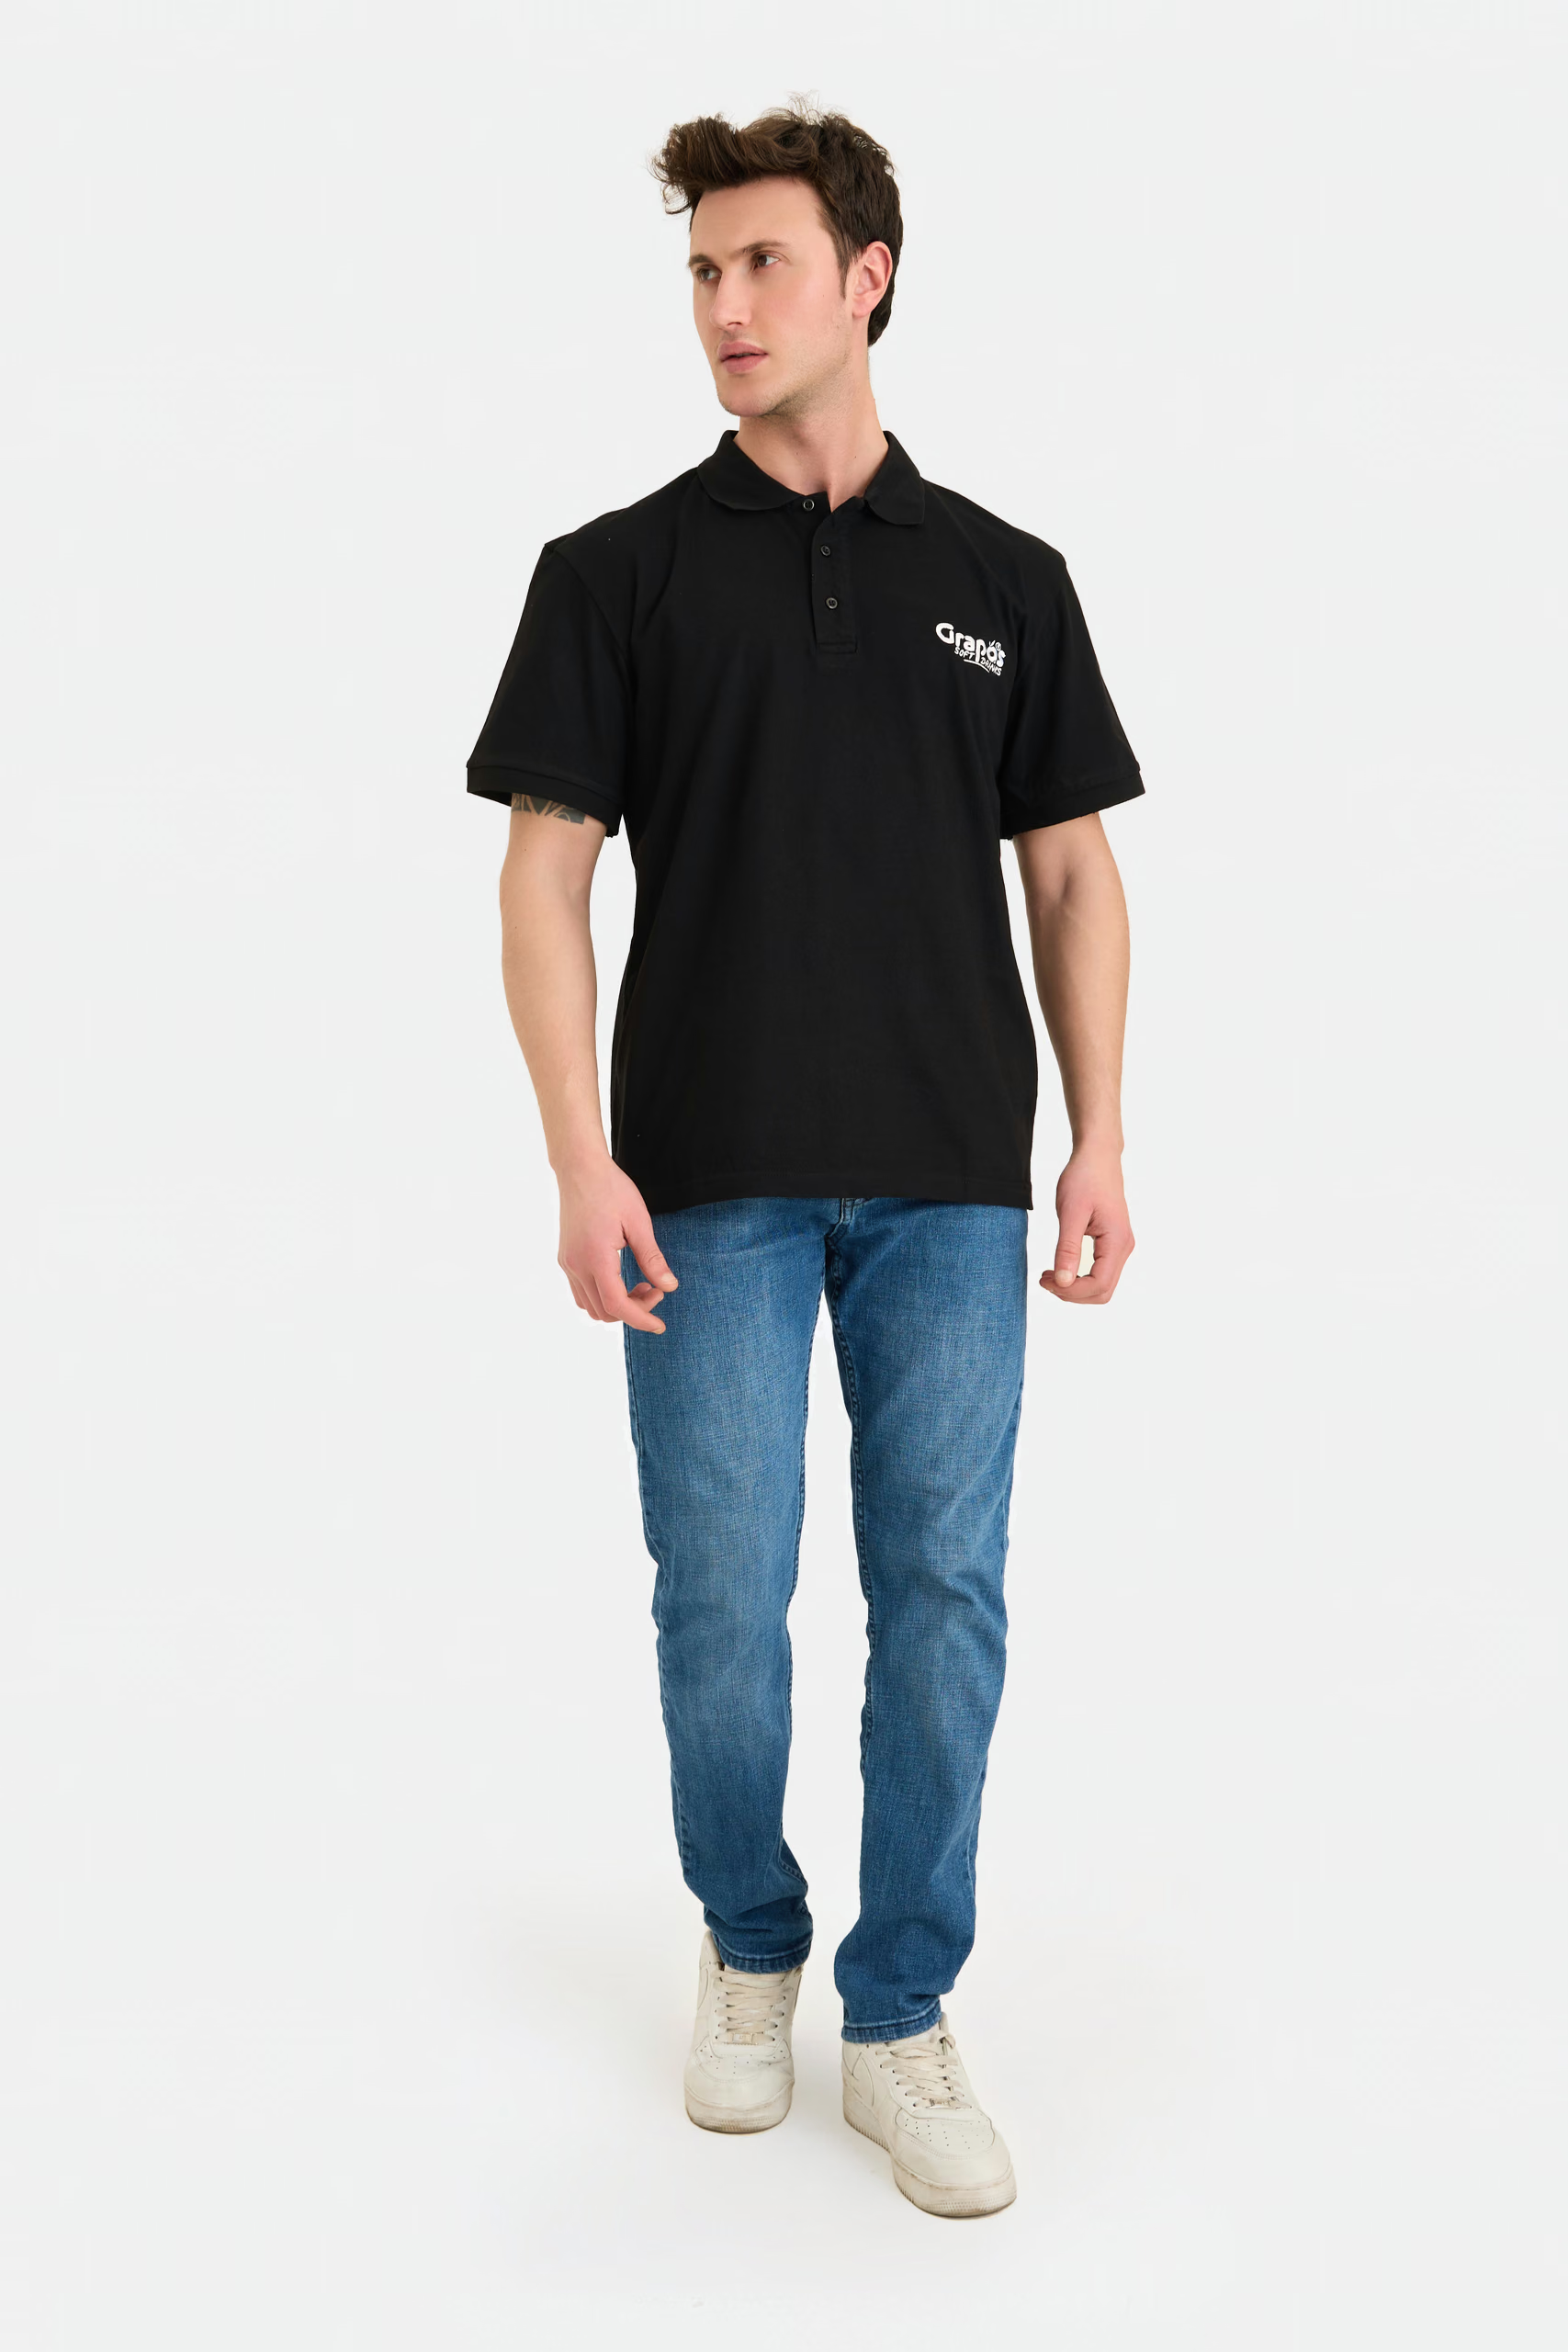
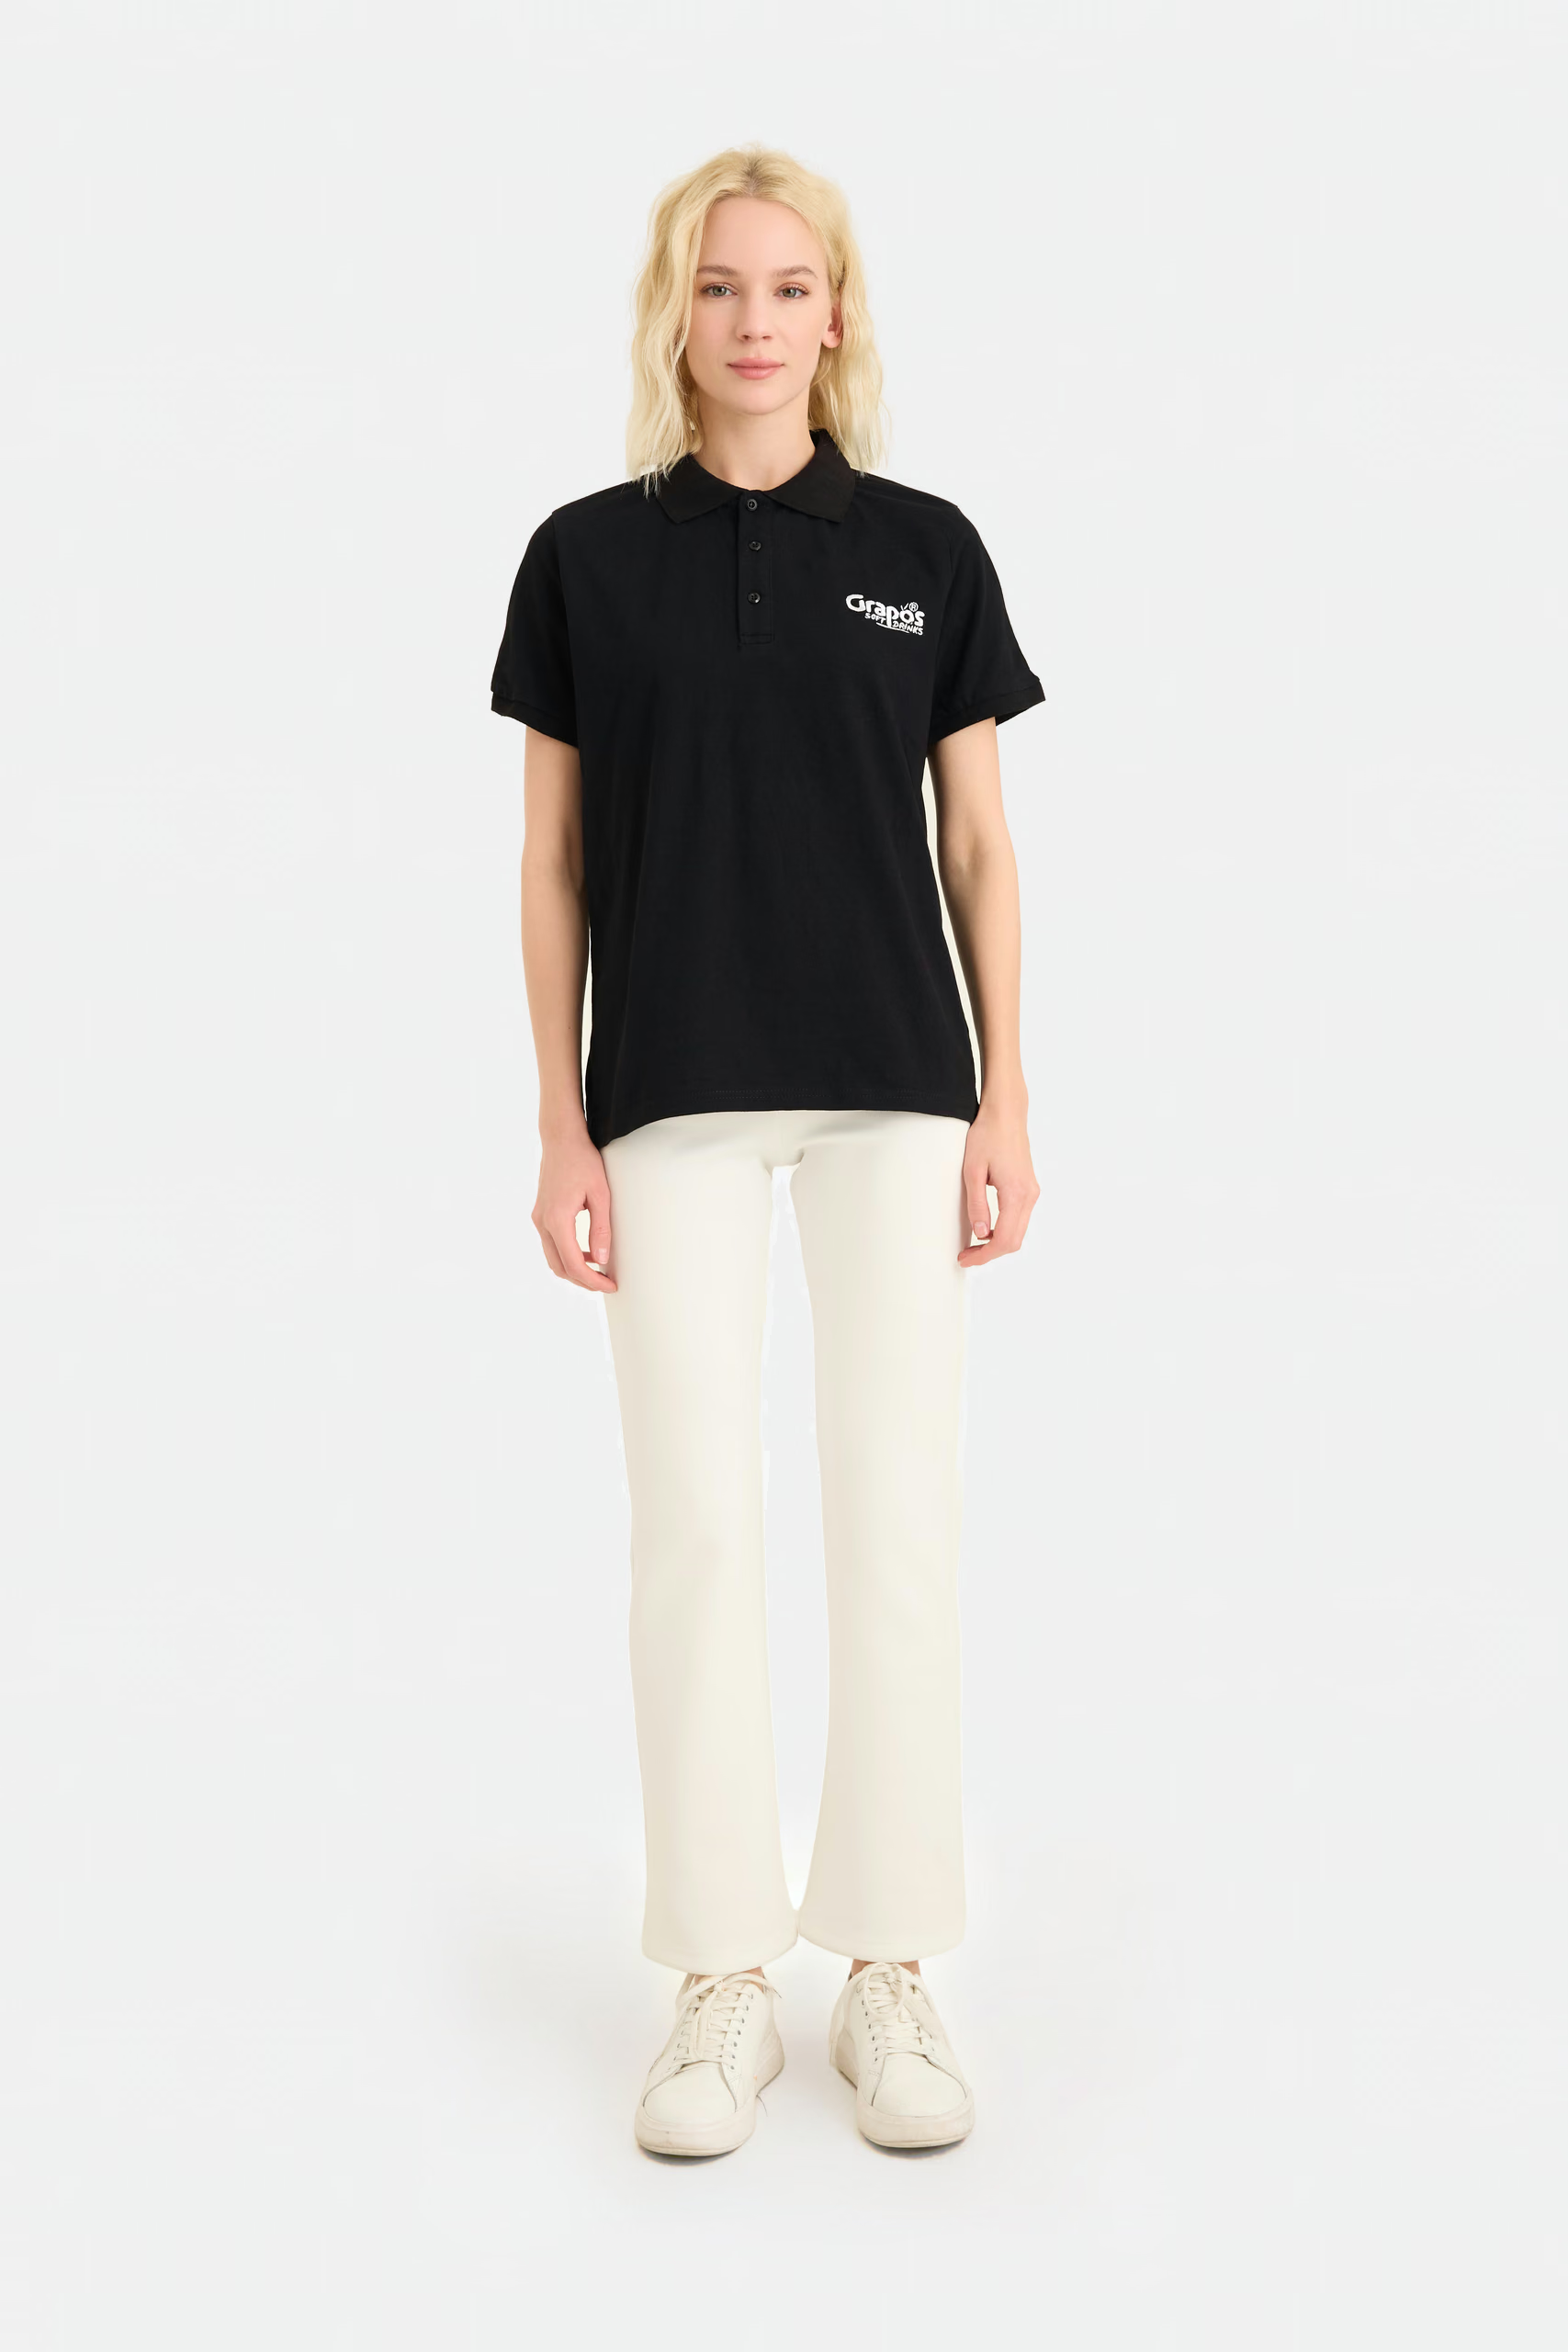
Placement on a polo
On a polo the placket edge, not centre front, is normally the horizontal origin. The chest mark has to clear the placket on one side and stay well inside the armhole on the other.
Two further polo points. Piqué is a textured structure, so it sets a higher practical floor on small lettering than smooth jersey does; the structure itself is described in the piqué reference. And collar or placket embroidery is normally done before assembly, because neither can be hooped once the garment is built, which is discussed further in polo collar and placket construction.
Logo placement standards for corporate polos, corporate wear and workwear
Company branded polo shirts are usually specified from a few common starting points in the trade and then confirmed on a sew-out. A left chest mark is about 70 to 100 mm wide, its top roughly 180 to 230 mm below the high point of shoulder on a size M, clear of the placket edge. A sleeve mark is 50 to 80 mm wide, centred on the upper arm. A back mark is 200 to 280 mm wide, 60 to 100 mm below the collar seam.
Across a corporate wear or workwear range, consistency matters more than any single number. Keep one finished width for the chest mark on the polo, shirt, softshell and work jacket, and measure each from that garment's own landmark: placket edge, button stand or zip. On workwear, chest pockets and reflective tape take the space, so the mark often moves above the pocket or to the sleeve; state that per garment. Merch and promotional textiles polos use the same starting points. Ranges these rules apply to: corporate clothing and workwear.
Stretch fabrics and rib
Embroidery does not stretch. Thread laid onto a fabric that extends in wear creates a rigid area in a garment that is otherwise elastic, and the fabric around it takes the strain.
- On moderately stretchy knits this is manageable with appropriate backing, and it is the normal case for sweatshirts and heavier jerseys.
- On high-stretch performance fabrics a large embroidery is often the wrong choice, because the rigid patch fights the garment's function.
- On rib trims, cuffs and waistbands, embroidery restricts the recovery the trim exists to provide, so small marks only.
- Embroidery close to a stretch zone can distort even when the mark itself is on a stable panel.
None of this makes embroidery unsuitable for knitwear, which is a common base for embroidery. It means the size and the position have to respect what the fabric does, and that a sew-out on the actual fabric is not an optional step.
Patches and applied badges: embroidered, woven, PVC and leather, and how they are attached
A patch is decoration made separately and attached to the garment, which moves the size and detail limits off the garment and onto the patch. Embroidered patches and appliqué are made in our factory; woven, PVC and leather patches are supplied by the buyer or sourced, confirmed per project at the quotation stage.
| Patch type | Suits | Made |
|---|---|---|
| Embroidered patch | Crests and bold logos with a raised stitch texture | In our factory |
| Appliqué | Large letters and shapes cut from fabric and stitched down, common on fleece | In our factory |
| Woven patch | Fine detail and small text that embroidery cannot hold | Buyer-supplied or sourced |
| PVC patch | Outdoor, sports and workwear marks with a moulded, wipeable surface | Buyer-supplied or sourced |
| Leather or faux-leather patch | Debossed brand marks on denim, trousers and heavy fleece | Buyer-supplied or sourced |
- Sewn on with a merrowed edge. An overlocked border is stitched down around the patch; a durable route on garments that are washed often.
- Heat-seal backing. An adhesive back pressed on; quick, but on laundered garments it is usually stitched as well.
- Hook-and-loop. The loop side is sewn to the garment so badges can be swapped, common on uniforms; see uniform manufacturing.
- Stitched over. Appliqué fabric is held by a satin or zigzag border stitched through the garment.
A patch is placed like any embroidery, measured from a garment landmark with a tolerance agreed in the specification, and it is often attached to the panel before assembly. Include patched garments in the wash test, so edge fraying, lifting of heat-seal backing and colour transfer from the patch show up before bulk.
Specifying it
An embroidery placement row
In addition to the general placement fields covered in specifying decoration placement.
- Finished width, and height where the artwork is tall or square
- The minimum acceptable height of any small text inside the mark
- The number of colours, and the thread references or brand colours they should be matched to
- Whether the artwork may be simplified for stitching, and who approves that
- Whether the position requires embroidery before assembly
- Sew-out approval on the production fabric before bulk
Machine settings, hoop selection, backing weight and stitch density are the factory's to determine against the equipment and materials in front of it. A specification that tries to set them usually produces an argument rather than a better result; a specification that sets the size, the position and the approval requirement gets what it asked for.
Embroidered references
Polo references previously produced with embroidered chest logos and crests.
Questions this raises
Does embroidery artwork need to be vector?
Vector is strongly preferred because it gives clean edges to digitise from, but it is not the file the machine runs. Embroidery is stitched from a digitised stitch file created from your artwork, so what you supply is a reference and what the machine uses is produced from it. A high-quality raster file at production size can be workable for simple marks; a small screen-resolution image is not.
Should I send an embroidery file myself?
Normally no. Digitised stitch files are machine and setup specific, and a file produced elsewhere may not run well on the equipment your order is made on. Send the brand artwork and let the digitising be done for the actual production, then approve the sew-out.
How small can embroidered text be?
Thread manufacturers' guidance puts the floor in the region of 6 to 7 mm letter height with standard 40 weight thread, and around 3 mm with a finer 60 weight thread at higher density. Those are minimums on stable smooth fabric; on textured, brushed or stretchy surfaces the practical minimum is higher. Confirm it on a sew-out at the real size.
Can embroidery go over a seam or next to a zip?
Sometimes, and it is harder. The area has to be held flat in a frame with nothing else caught in it, so a seam allowance under the needle or a zip inside the working area limits what is possible. Where a position cannot be reached on an assembled garment, the panel can be embroidered before the garment is sewn, which has to be agreed in advance because it changes the production sequence.
Why does the same logo cost more on one garment than another?
Embroidery is priced on stitch count and thread changes rather than on physical size, so coverage and colour count drive the figure. The garment also matters: a position that requires embroidering a panel before assembly is a different operation from one that can be hooped on a finished garment.
Send the logo and we will tell you what it can do
We review artwork for stitchability before quoting and say where a mark needs simplifying or enlarging. Embroidery is handled in house, and the sew-out is approved before any bulk runs.
Start a project