

Preparing artwork for all-over sublimation
All-over sublimation artwork is not a picture of a garment. It is a set of separate panel images, each drawn to a pattern piece, each extending past the line it will be cut on, and each drawn so that whatever crosses a seam still lines up once the panels are sewn together.
Contents
A central point about all-over sublimation is that the artwork is prepared for flat fabric panels, not for a garment. The garment does not exist yet when the printing happens. What exists is a set of pattern pieces, and the artwork has to be built onto those pieces.
That is why an all-over design cannot be supplied as a single rectangular image and why a mock-up of a finished garment is a starting point rather than a production file. How the garment is then produced is covered in full sublimation jersey manufacturing; what sublimation suits commercially is covered in the all-over sublimation guide. This page is about the artwork itself.
The workflow, in the order it happens
From a design to a printed panel
Two things about this order are worth noticing. The pattern comes before the artwork mapping, which means the fit has to be settled before the design can be finalised: change the pattern later and the artwork has to be re-laid. And cutting happens after printing, so the cutting operation is following the printed design rather than optimising fabric use, which is one of the reasons sublimated production is costed differently from cut-and-sew production in plain fabric.
Panel templates
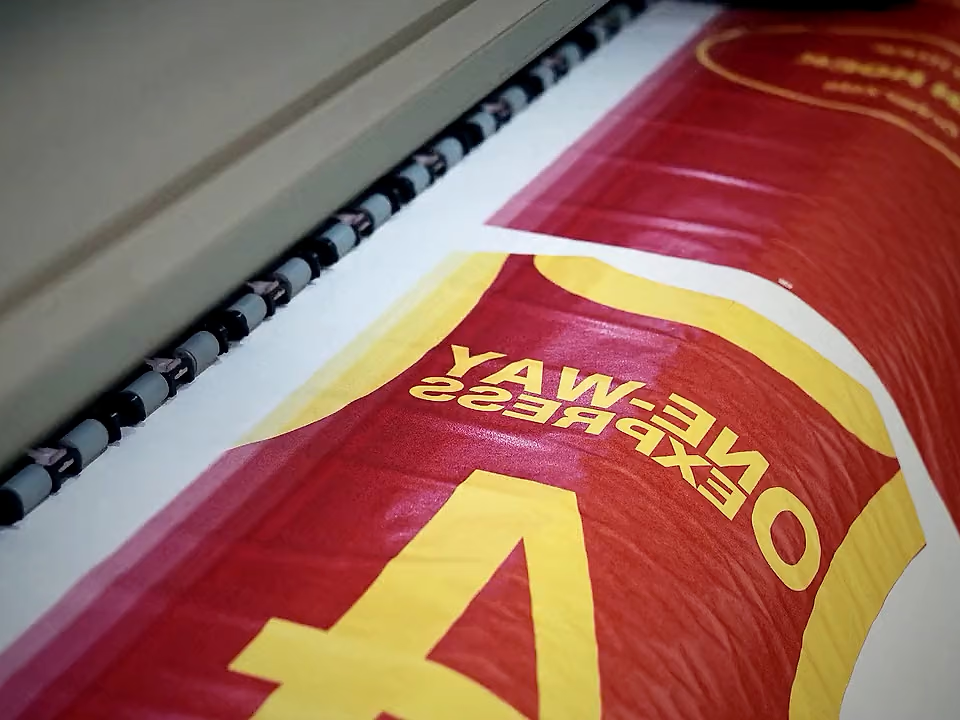
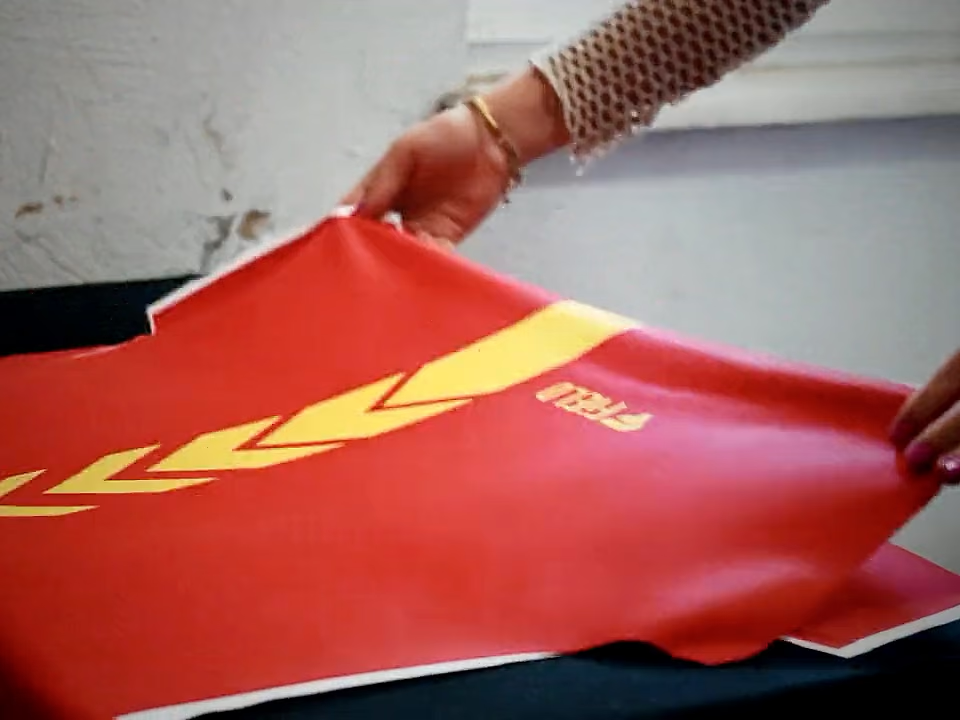
A template is the pattern piece expressed as an artwork canvas. There is one for each panel in the garment and one set for each size in the range, because a size L front panel is a different shape from a size S front panel and the artwork on it is not simply the same image scaled.
What a panel set looks like
Each panel carries a cut line, a bleed extending past it, and a safe zone inside it where critical artwork stays. Anything continuing across a seam has to be drawn to match at both panel edges.
| Panel | What it carries |
|---|---|
| Front | Usually the main graphic, the chest mark and any front sponsor |
| Back | The rear graphic, and on sportswear the number and name area |
| Sleeves | Sleeve graphics and sleeve marks; two panels, mirrored |
| Side panels | Where the pattern has them, often carrying a continuation of the body graphic |
| Collar or neck trim | Small, and often plain because a busy graphic on a narrow trim reads as noise |
| Cuffs and hem bands | Where present, and usually treated as their own design element |
Panel count is a design constraint as well as a construction one. Every additional panel is another edge the artwork has to resolve, and a design that reads well on a two-panel body can become difficult on a six-panel one.
Bleed and safe zones
Two concepts do much of the work at the panel edges, and they pull in opposite directions.
| Term | What it is | What it prevents |
|---|---|---|
| Bleed | Artwork extended beyond the cut line, into the area that will be trimmed away | Unprinted white slivers appearing at a seam or an edge if the cut shifts slightly relative to the print |
| Safe zone | The area inside the cut line where critical artwork must stay | Logos, text and anything that must not be trimmed being cut through or swallowed into a seam allowance |
The seam allowance is the reason the safe zone has to be inside the cut line rather than at it. Fabric between the cut edge and the stitch line disappears inside the garment when the seam is sewn, so artwork placed there is printed and then hidden. A sponsor logo positioned right up against a panel edge can lose a visible slice of itself for exactly this reason.
Artwork that crosses a seam
This is where all-over design succeeds or fails visually. A graphic that runs from the body onto a sleeve, or from the front onto a side panel, has to be drawn so that the two panels match at the line where they will be joined, allowing for the fabric that disappears into the seam.
Perfect continuity across a seam is not realistic to promise. Fabric stretches slightly during printing, fixation and handling, panels are cut with a tolerance, and the sewing operation itself has a tolerance. What is realistic is designing so that small misalignment does not matter.
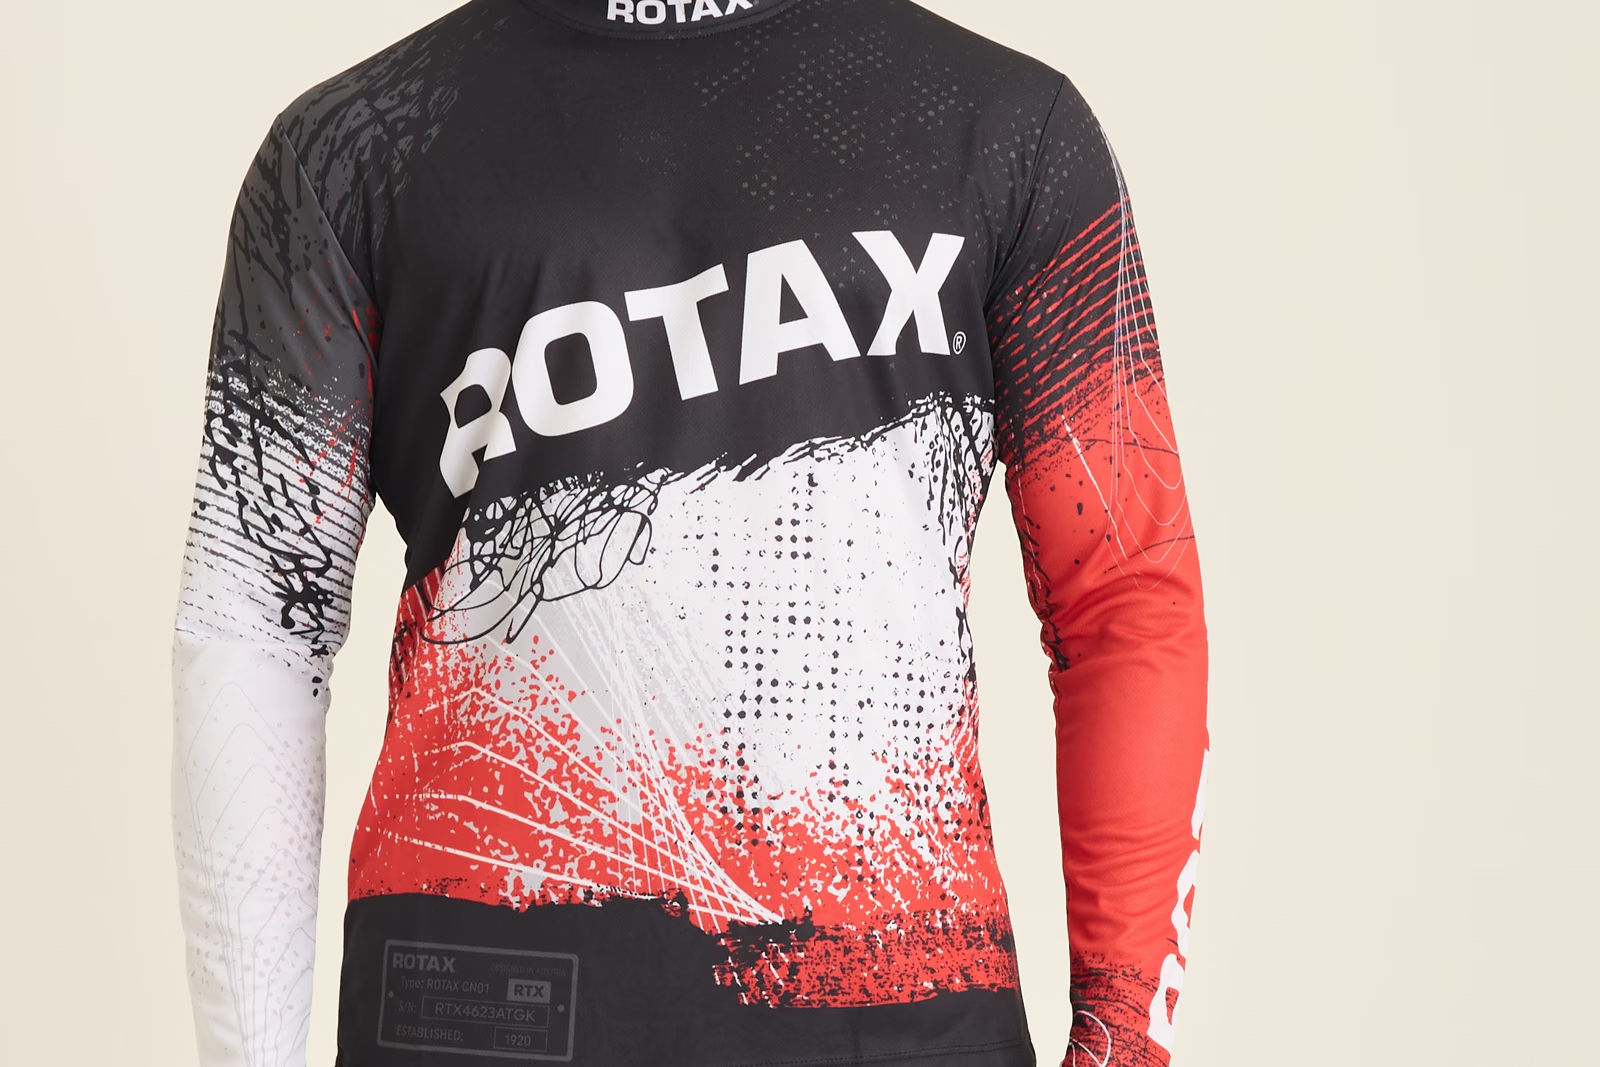
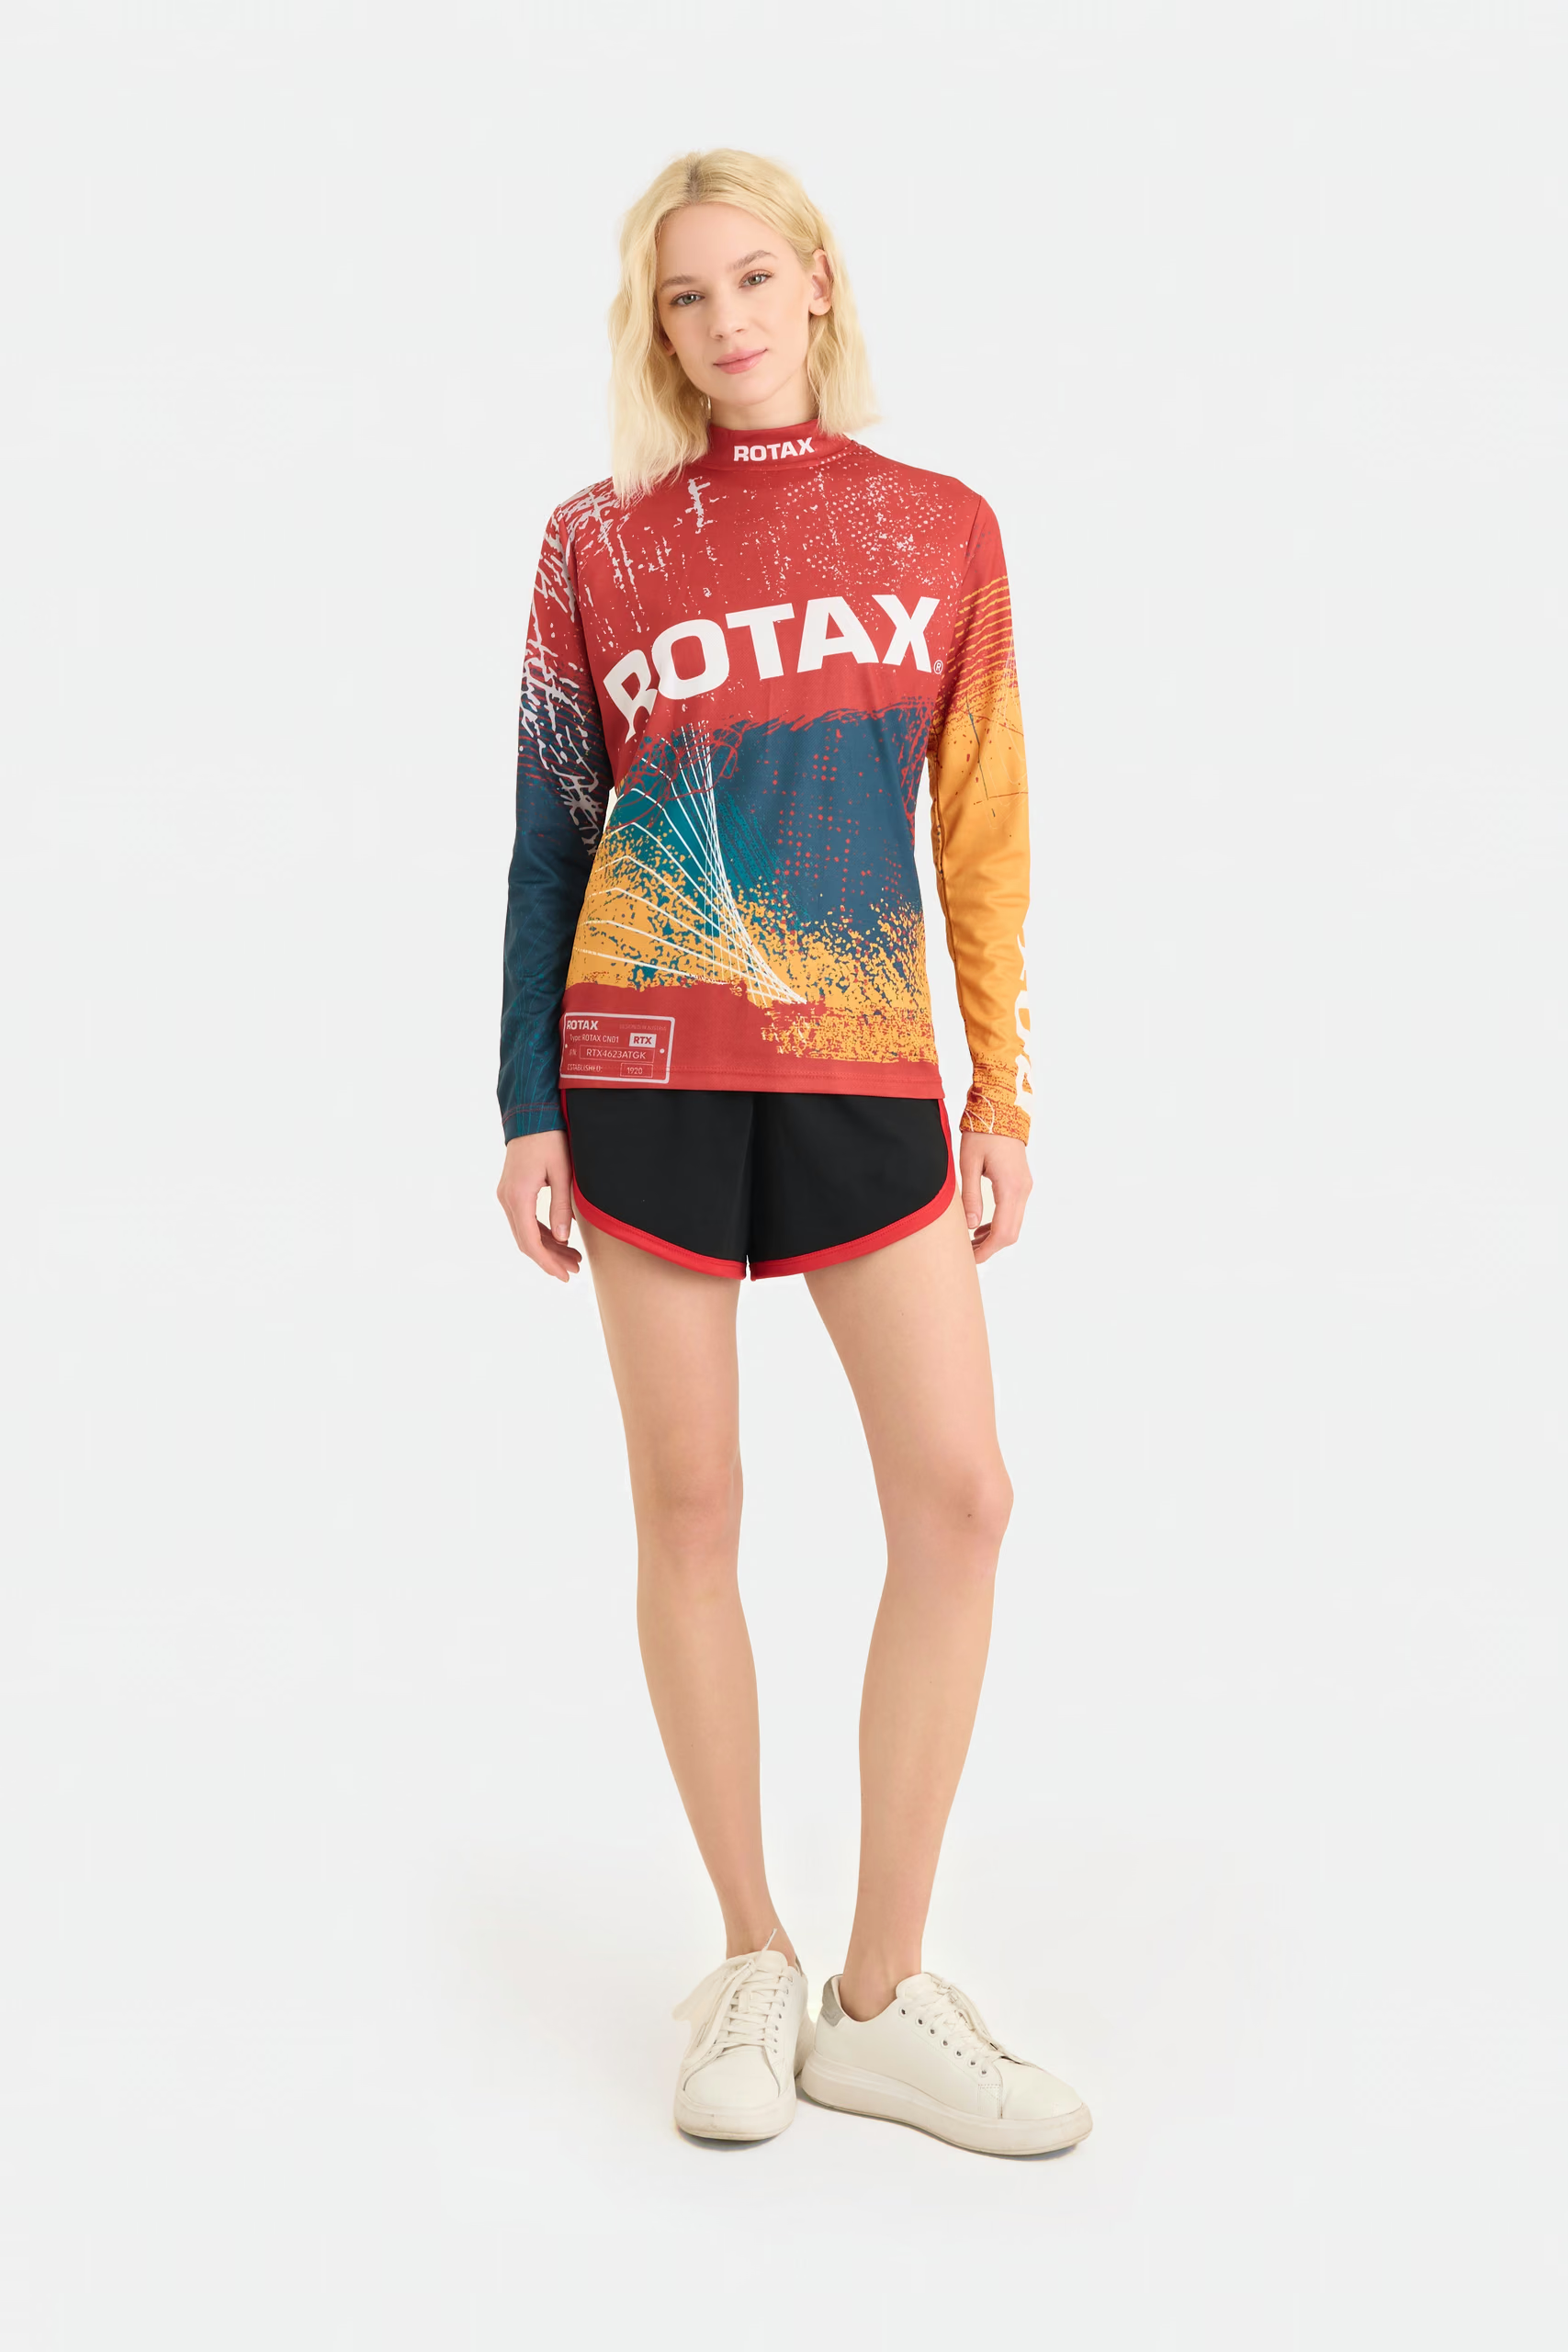
The graphic here runs from the body onto both sleeves. The textural elements cross the seams without the eye registering an offset; the wordmark stays entirely on the front panel.
Placing logos and sponsors inside an all-over print
A sublimated garment usually carries specific marks as well as a background design, and those marks are placements in the ordinary sense described on the artwork placement hub. The difference is that they are positioned on the panel rather than on the garment, which is a less intuitive coordinate system.
- Decide the position on the garment first, in the normal way: a distance down from the shoulder and across from centre front.
- Have that translated onto the panel template, allowing for the seam allowances that will be consumed.
- Check that the mark sits inside the safe zone with room to spare, since it tolerates a shifted cut poorly.
- Check it against the background artwork underneath: a logo over a busy area of the print may need a plain field behind it to stay legible.
- Confirm how it behaves across the size range, because a panel that grows changes where a fixed-position mark sits relative to the body.
The last point catches people out. On a sublimated garment the artwork and the placement are the same file, so a decision to keep a logo at a fixed size across sizes has to be built into every panel set rather than applied once.
Resolution, and what actually needs it
All-over artwork is physically large, and a file that is adequate for a chest print is not adequate for a full panel. The rule is the same one that applies to any print artwork and is set out in the artwork file requirements guide: resolution is only meaningful at the final printed size.
- Vector elements, which is what logos, text and hard-edged graphics should be, scale to any panel size without loss.
- Photographic and painterly elements are raster by nature and have to be supplied large enough to cover their area at the intended output resolution.
- Textures and patterns can often be built as repeats, which solves the resolution problem and makes seam crossings easier at the same time.
- An upscaled small image does not gain detail, and sublimation shows softness clearly because there is no fabric texture obscuring it the way a printed ink layer would be.
Colour
Sublimation colour is produced by a printer through its own colour management, not mixed to a target the way a screen printing ink is. A brand colour reference is therefore an input to a conversion rather than a specification of the output, and the achievable result depends on the ink set, the profile and the fabric.
Two consequences follow. Some colours in a brand palette will be closer than others, and it is worth knowing which before the design is finalised rather than after. And the colour has to be judged after fixation on the actual fabric, because sublimation colour shifts between the printed transfer and the finished garment, which is the mechanism described in polyester print colour change.
There is also a substrate constraint that has no equivalent in printing on cotton: sublimation dyes bond with polyester, so the fabric has to be a polyester or a high-polyester blend, and the base fabric is normally white or very pale because the dye adds colour rather than covering what is underneath. The fabrics themselves are covered in performance polyester knits.
What to send, and what to expect back
The exchange
From the buyer
- The design concept, and a mock-up if one exists
- Vector files for all logos, text and hard-edged elements
- Raster elements at a size adequate for their panel area
- Colour references, with a note of which are critical
- Placement intentions for logos and sponsor marks, expressed on the garment
- The size range the design has to cover
From the factory
- Panel templates for the pattern, with bleed and safe zones marked
- The artwork laid onto those templates for approval
- A note of anything that will not survive a seam crossing or a size change
- A printed and fixed colour proof on the production fabric
- A sample garment before bulk
Approving the panel layout is a step that is easy to skip and expensive to skip. Once panels are printed there is no correcting a graphic that was positioned wrongly on the template; the fabric has to be reprinted.
Sublimated references
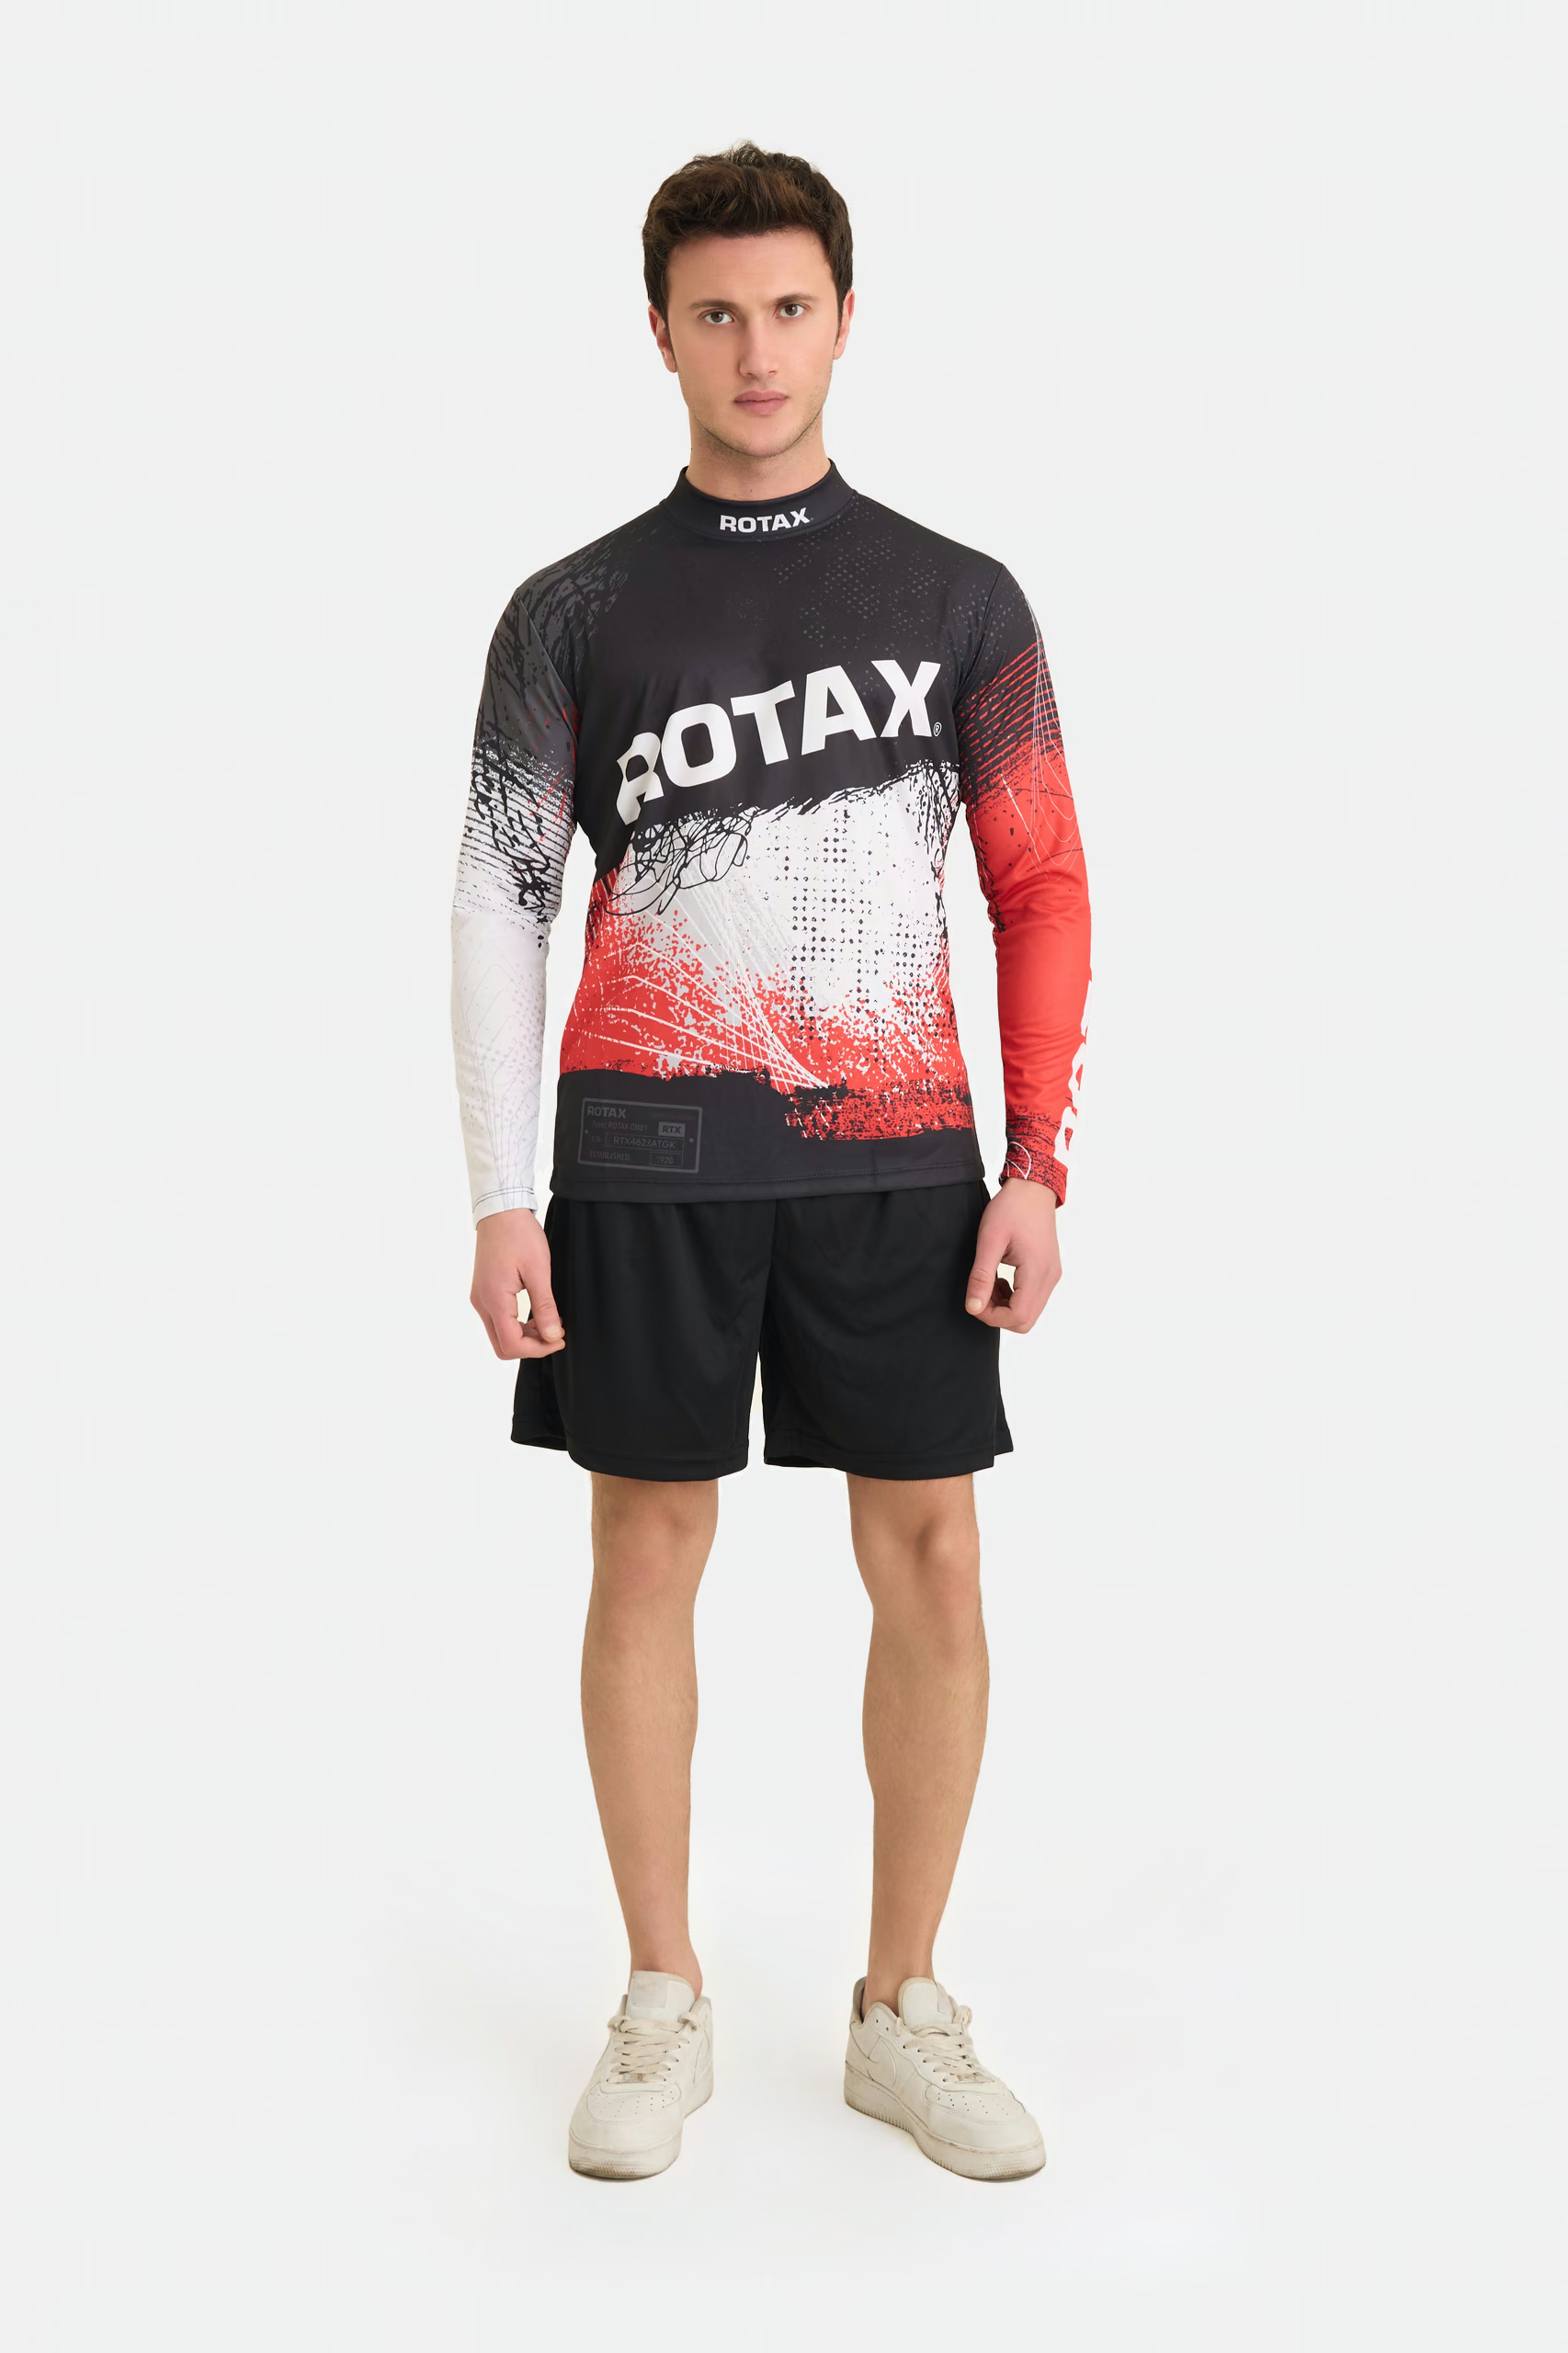
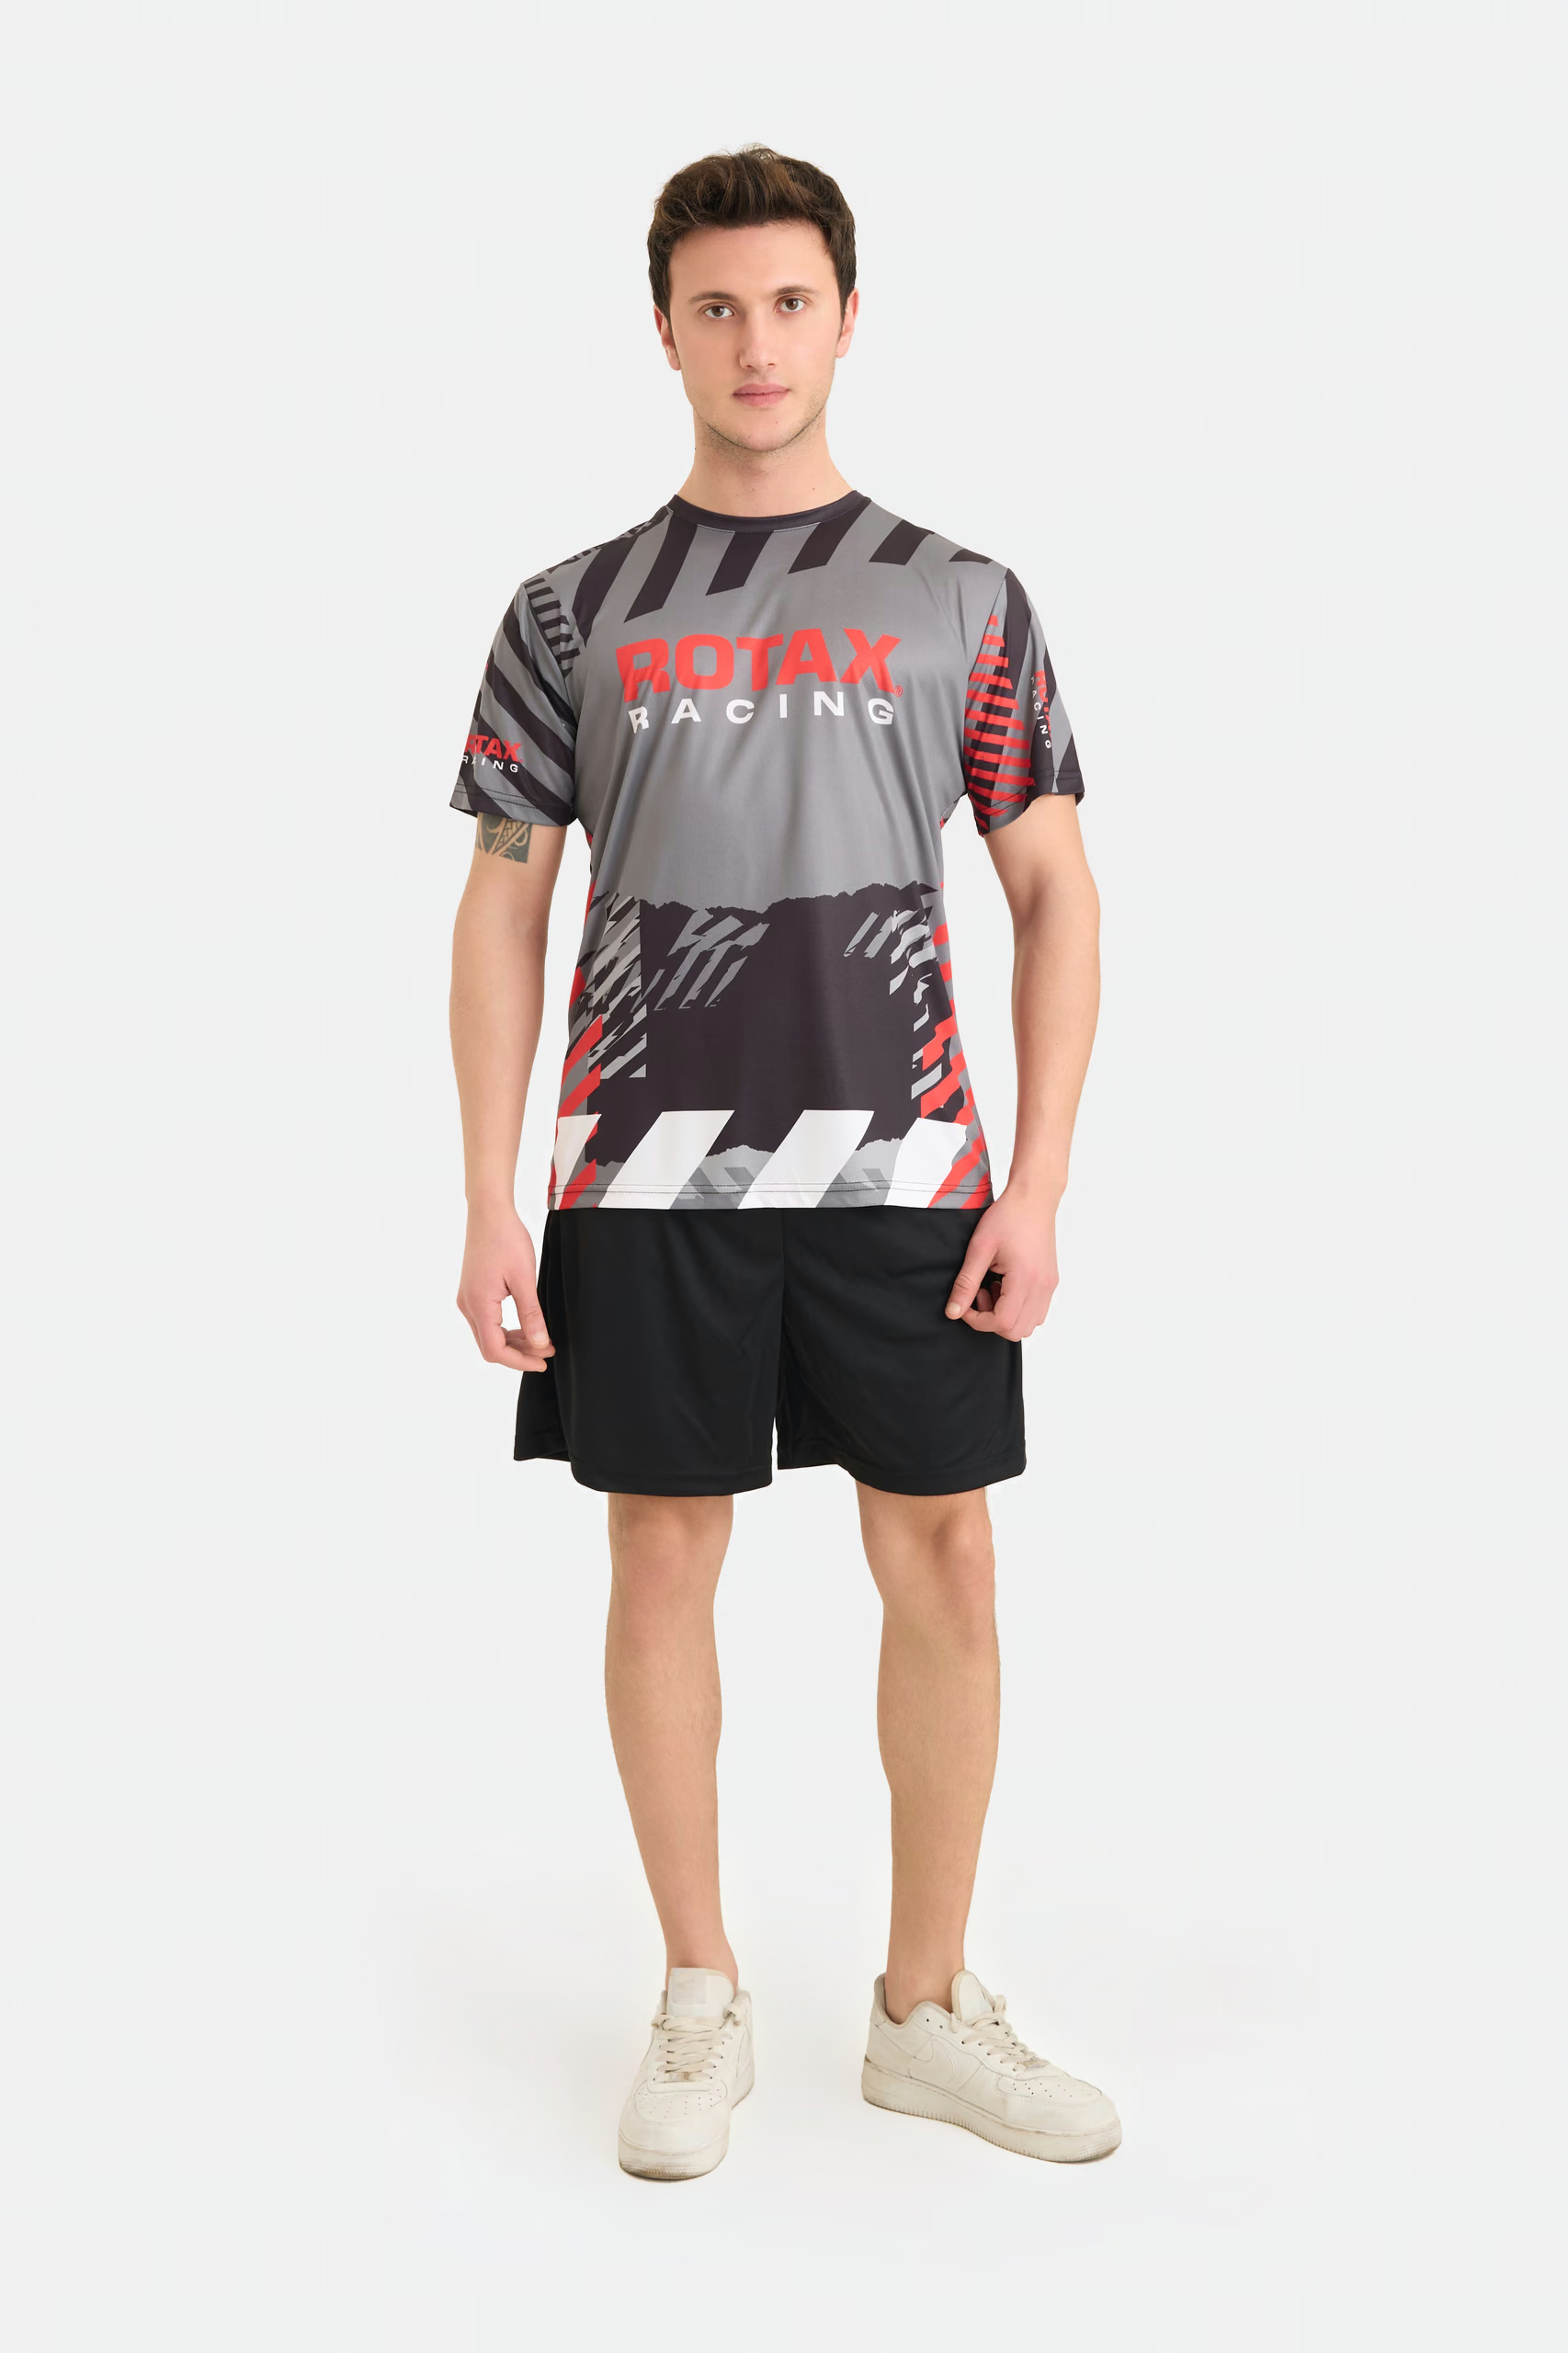
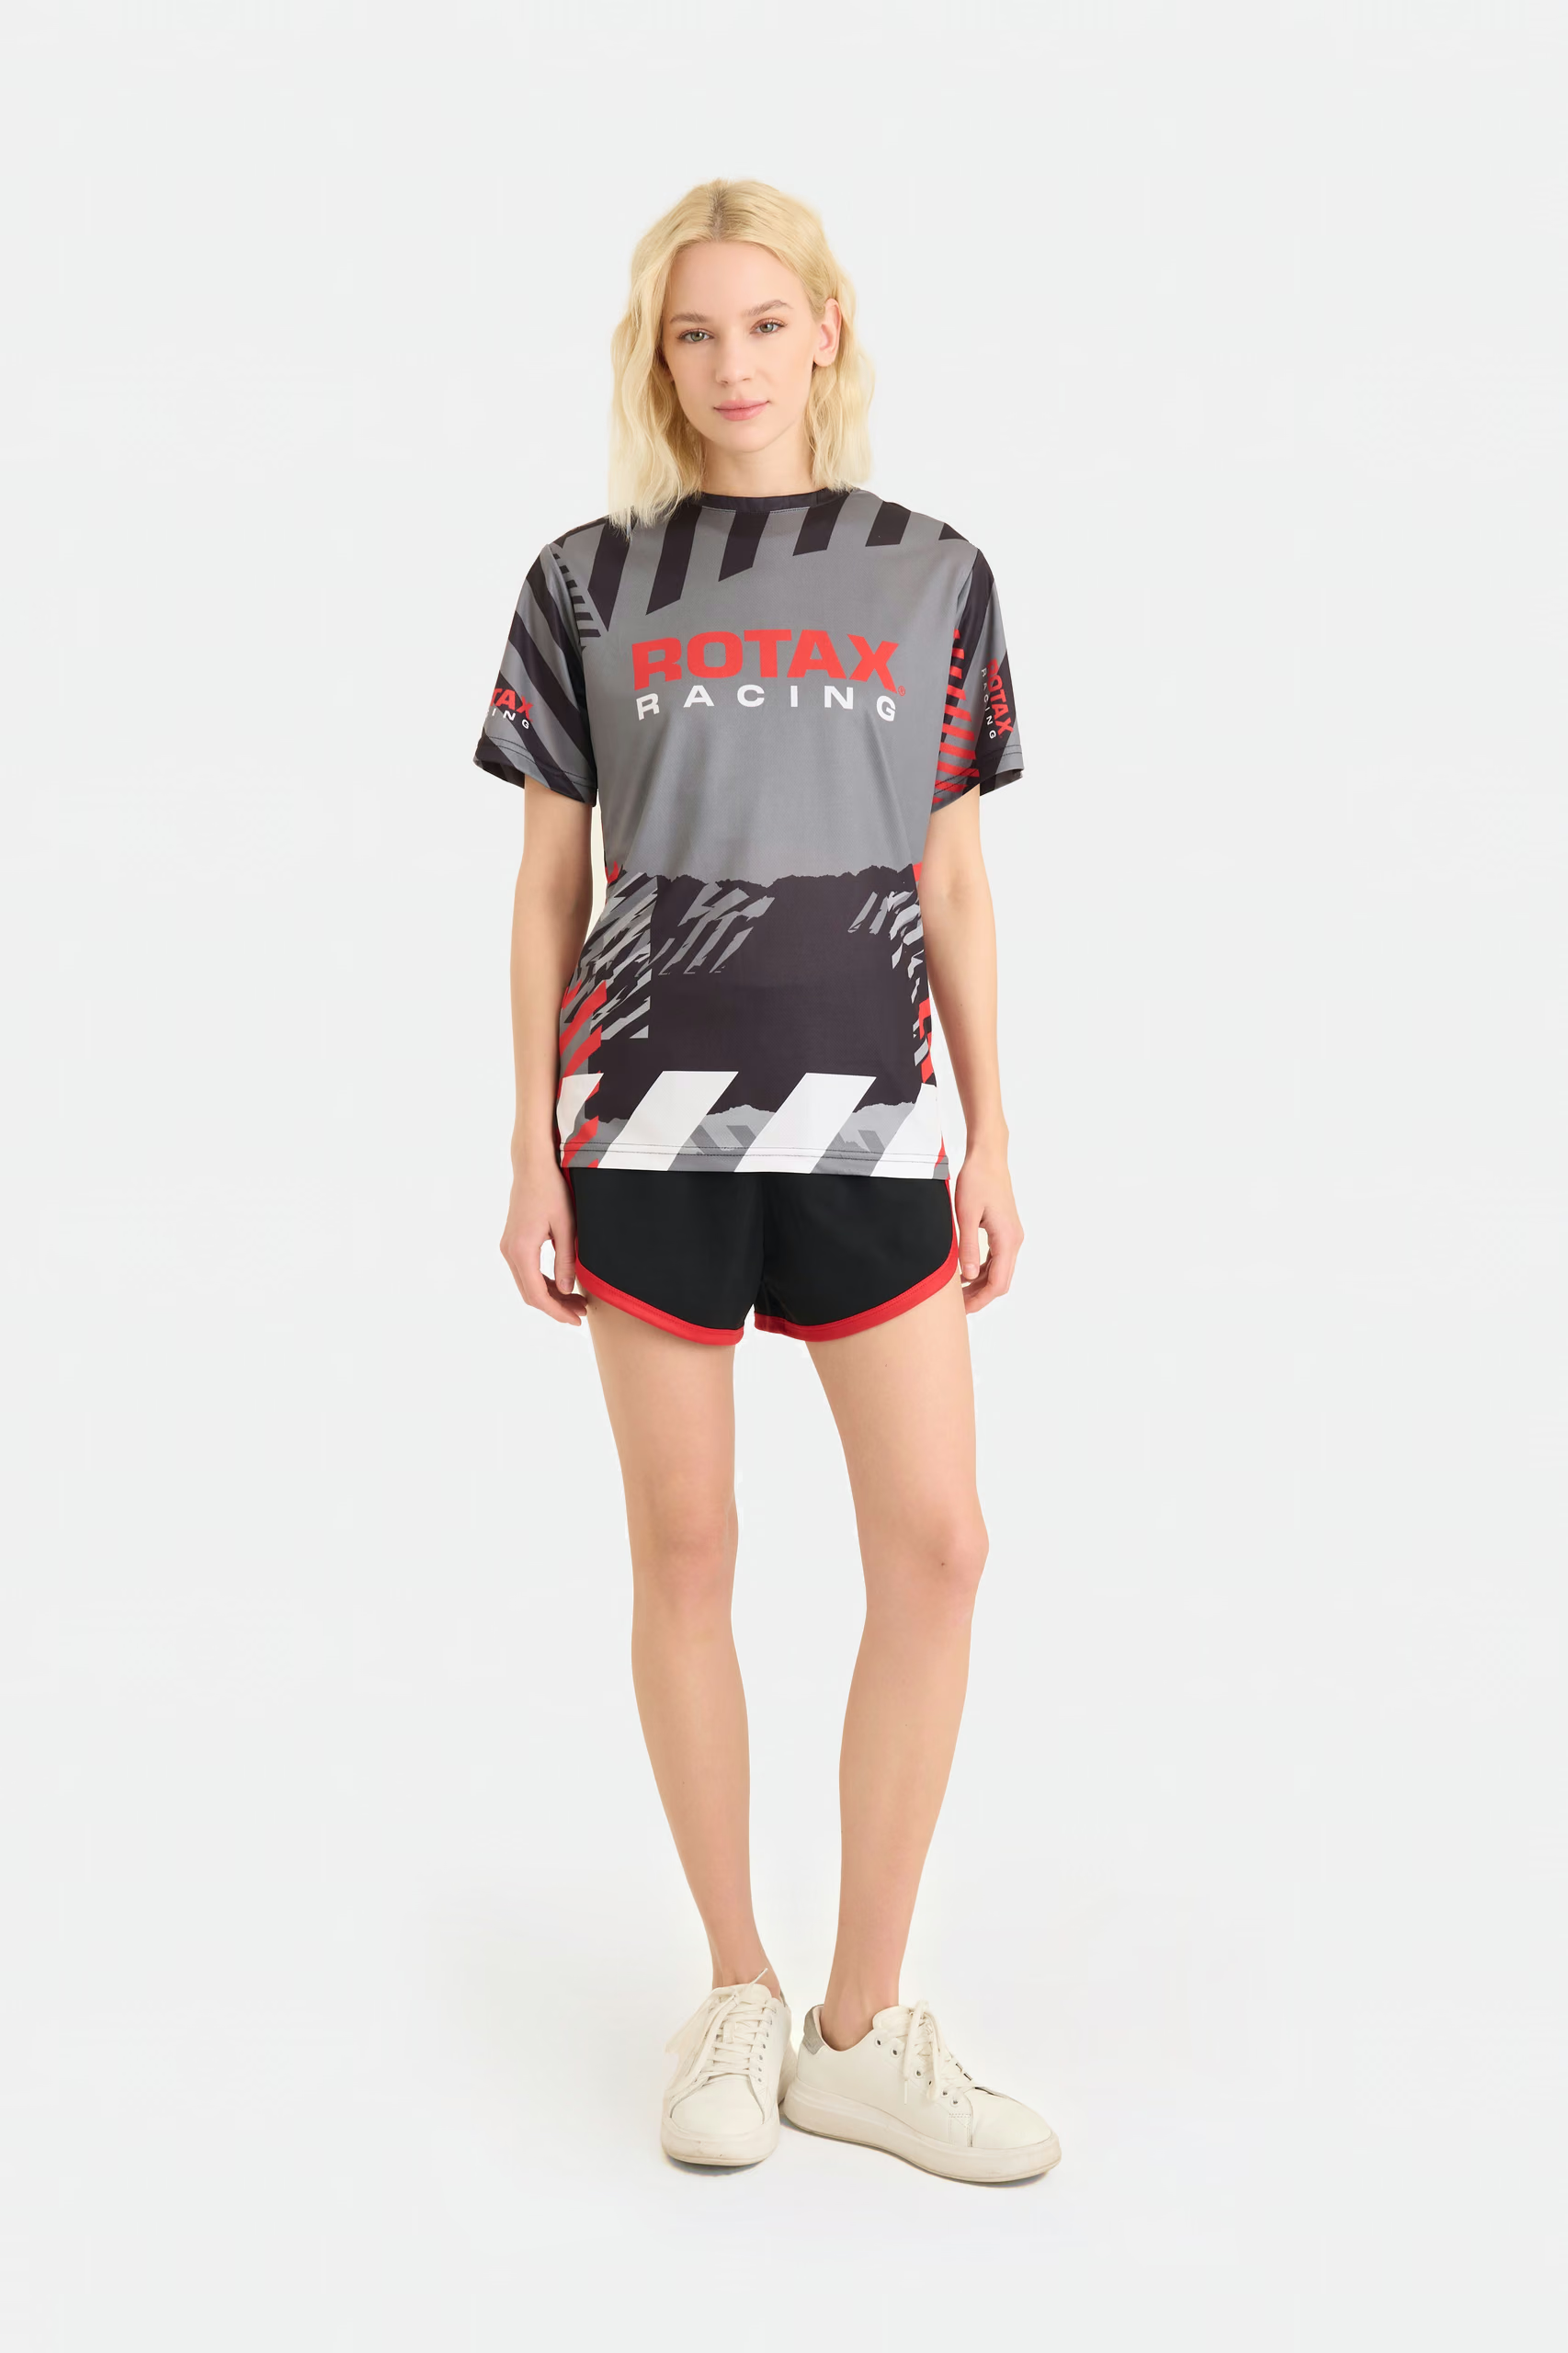
Sublimated jerseys and sports tops previously produced to customer specifications.
Questions this raises
What does bleed mean in sublimation artwork?
Bleed is artwork extended past the line the panel will be cut on, into the area that gets trimmed away. It exists so that a small shift between the print and the cut does not leave an unprinted sliver at a seam or an edge. How much bleed is needed depends on the pattern, the fabric and the cutting method, so it comes from the factory's template rather than from a universal figure.
Can I supply an all-over design as one image of the garment?
It is a useful starting point but it is not a production file. The artwork has to be laid onto individual panel templates for each pattern piece and each size, with bleed and safe zones resolved at every edge. A single flat image of a finished garment does not contain that information.
Will a graphic line up exactly across a seam?
Closely, not exactly. Fabric moves during printing and fixation, panels are cut with a tolerance and sewing has its own tolerance. Design so that small misalignment does not matter: textures and colour blocks cross seams well, single hard horizontal lines and split wordmarks do not.
Why can sublimation only be used on polyester?
The dye bonds with polyester fibres rather than sitting on the surface, which is what makes the result unable to crack or peel. On natural fibres there is nothing for it to bond with. The same mechanism is why the base fabric is normally white or very pale: the dye adds colour rather than covering what is underneath.
Does the artwork have to be redrawn for each size?
The panel templates change with size, so yes, the artwork is laid onto each size's panel set rather than scaled as a single image. How the design behaves as the panels grow is a design decision worth making deliberately, particularly for logos and text that should not change size.
Send the design, we will send the templates
All-over work starts with the pattern rather than the picture. Tell us the garment and the size range and we will map your artwork onto the panel set for approval before anything is printed.
Start a project